When shooting photos for my lens comparison videos for side by side comparison, I always use the same methodology. People frequently ask me why I do things the way that I do, and I thought it would save us all time and provide more thorough information if I just write it all down, here.
I shoot from a tripod, with the center column down if there is one.
The point where the three legs of the tripod meet is the most stable place on a tripod, and the further you raise a camera above that point, the more vibrations or environmental factors like wind can affect the image quality. And of course, the joint between the tripod and the column is another point where movement can be introduced, with the raised column acting like a lever on that joint.
I use a timer or remote release.
This reduces the risk of vibrations or other movement in the camera that would cause loss of resolution during the exposure.
I shoot with live-view and the mirror locked up on a DSLR.
In an SLR, when the shutter button is pressed a mirror flips up and out of the light-path so that the film or sensor can be exposed. This motion can cause tiny vibrations that affect resolution. Locking up the mirror and/or using live view reduce this risk.
Furthermore, autofocus SLRs use the mirror and a separate autofocus module to focus the camera instead of the image on the sensor, so a poorly calibrated lens might consistently front-focus or back-focus. If we use live-view, the mirror is locked up and the image on the sensor is directly used to focus the camera, so we don’t need to rely on the calibration of the lens.
I use the electronic shutter on a mirrorless camera.
Vibrations from a mechanical shutter are less of a problem than mirror movement, but they can still have an effect. If an electronic shutter is available, I use it.
I take at least three shots at each setting, and re-focus between each shot.
This is simply a precaution against poor focus or other problems. I choose the one with the best resolution, if there is one, and use that in the comparison.
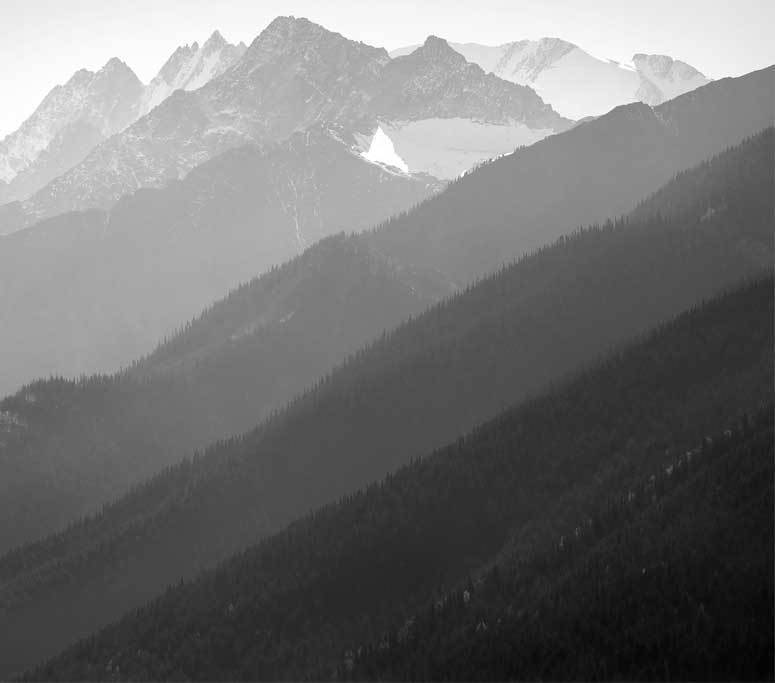
I photograph something distant and stationary, like a landscape or cityscape to test resolution.
I shoot photographs of real-world subjects rather than test charts because I think that they’re easier for people to understand and to gauge real-world differences in image quality. Still, they’re just substitutes for test charts (so don’t be one of those people who says “But this is a portrait lens, not a landscape lens!”).
I don’t shoot portraits for these types of comparisons because:
- Tiny differences in where the lens has is focused can create a dramatic difference in what appears to be sharp, which confounds comparison.
- Humans are rarely perfectly still, and even when shooting with strobes, some movement might contribute to differences
- Similarly, differences in the position of a model make it hard to compare images, and I don’t want to rely on a model to stay perfectly still while I change lenses.
I shoot landscapes or cityscapes because of the possible problems with lenses is field curvature; that is, when the lens is in focus in the center of the image, the focus at the edge of the frame might be closer or further from the camera rather than on a flat plane. Thus, what might appear to be poor resolution at the edge of the frame might actually be that the focus is off, there.
If I shoot something that’s very far away, though, the lens’s focal plane will generally have flattened out at the “infinity” setting of the lens.
If I shoot objects/scenes that are closer to the camera, then for each portion of the frame that I’m comparing (center, mid and edge of the frame), I have to shoot separate sets of photos for each case, deliberately focusing the camera at that point in the frame. It’s a lot more work, but I do it occasionally.
When possible, I don’t use electronic lens corrections.
Shooting RAW, this is not usually an issue in camera, but with my Sony cameras, some chromatic aberration corrections are automatically applied, so it’s hard to get a good idea of what the lenses are producing by themselves.
I shoot RAW and process images as 16-bit ProPhotoRGB files.
The image comparison sections of my videos are animated in Adobe Photoshop’s video editor with key-framing to maintain the highest level of image quality before being rendered as video.
I use the highest bit depth and largest color gamut in an attempt to retain as much information as possible, on the basic assumption that loss of information might lead to loss of resolution in some cases.


