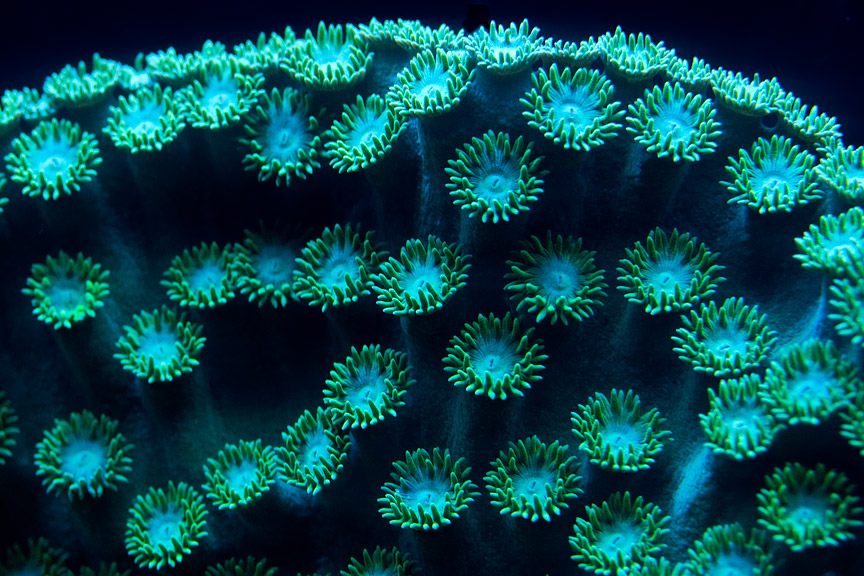
Since writing the original Quick Guide to Reef Tank Photography (which is a good place to start if you’ve never visited this site before), I’ve had a couple of additional opportunities to photograph reef tanks. I’ve been able to confirm a couple of my original suspicions and found problems with others, so I thought it might be worth posting them here.
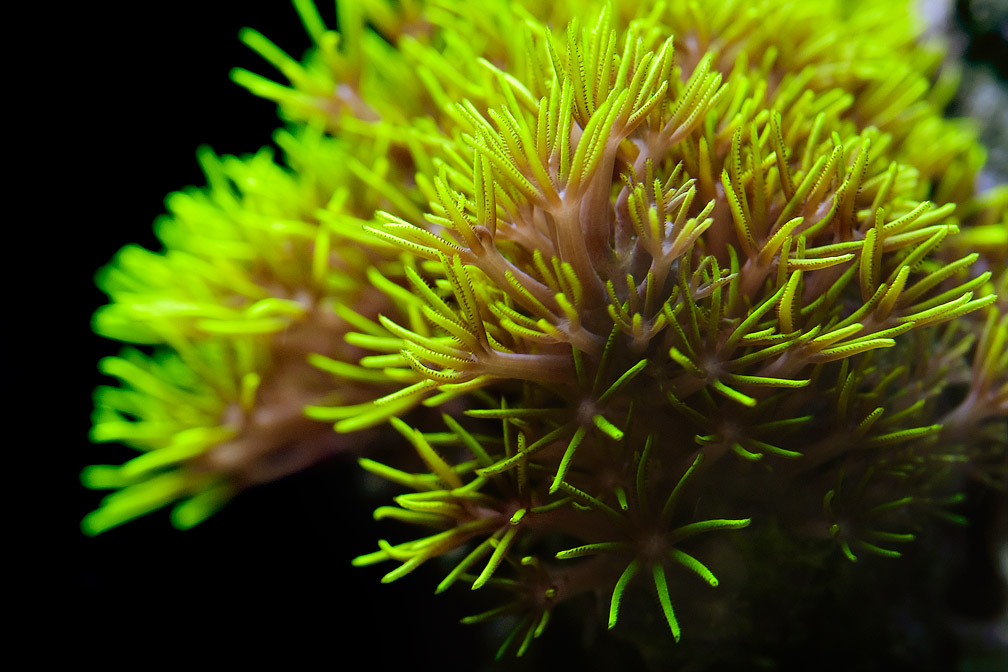
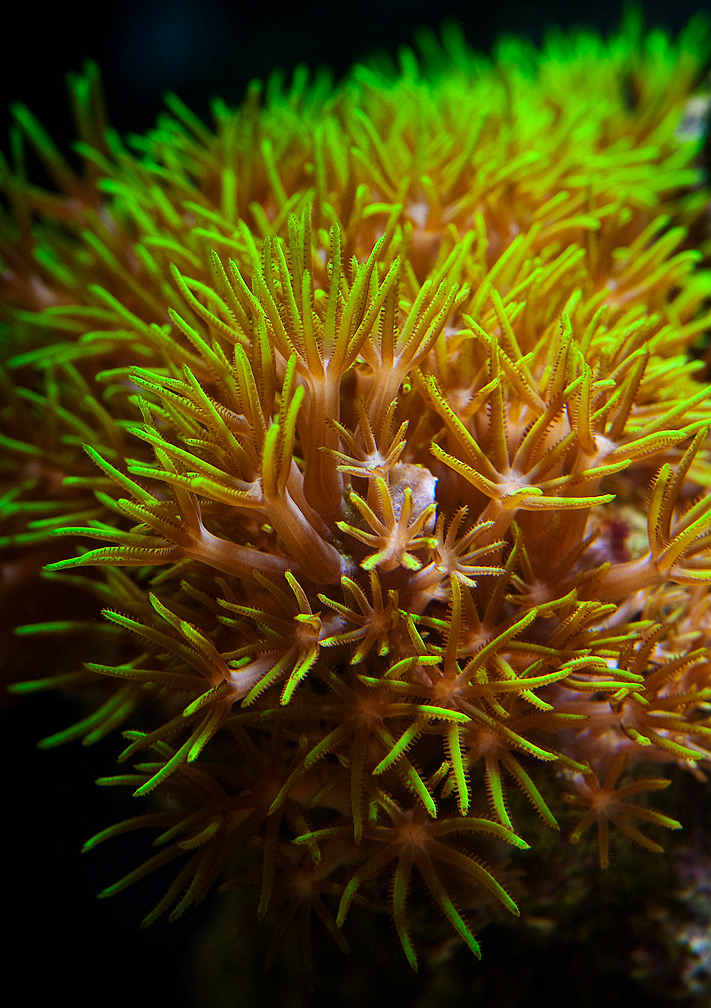
In technique section 3 (Standard Equipment), I suggested that a tripod mounted camera couple be used with smaller apertures to photograph stationary objects. I have since found this to be true, but to less of an extent than I had originally thought. Even at 1/30th of a second (with no pumps turned on), I wasn’t able to get completely tack sharp photos of soft polyps, even those with relatively rigid parts. The photo at the top of this page was taken by this method at f8, and although it is passable, it could be much sharper.
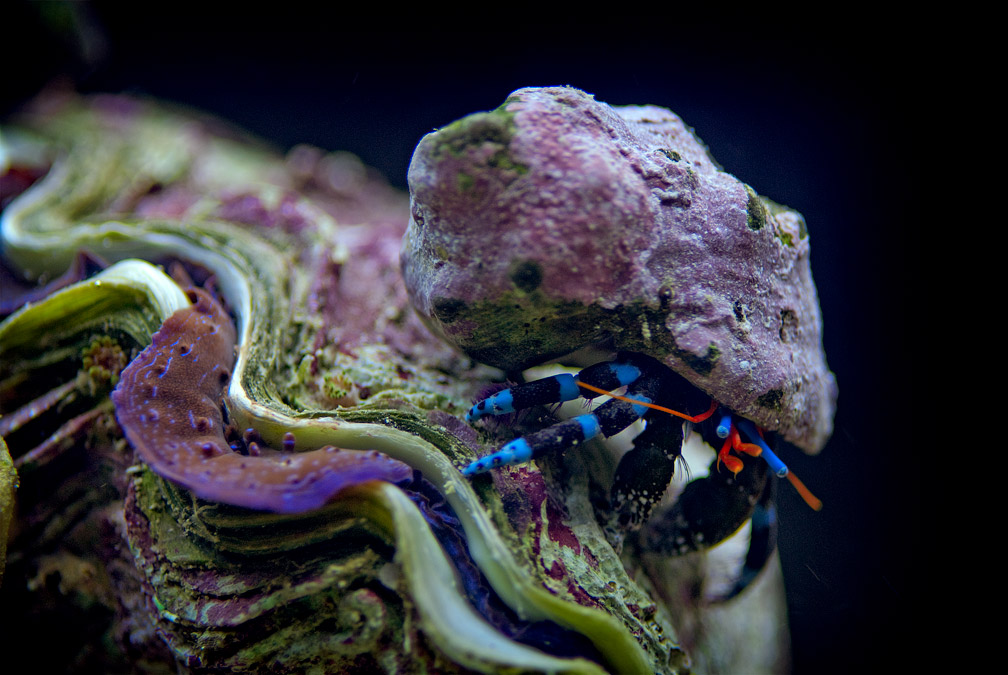
I take this to indicate that in order to get nicely sharp photos (at least when shooting this close), a moderately fast shutter speed is still necessary. I’d try 1/60th of a second first, and take lots of photos to increase the likelihood of getting one with minimal movement. This will necessitate either an increase in ISO (and digital noise) or aperture (and loss of depth of field). I found that at around 1/45 sec. I could get reasonably sharp photos on occasion, and at ISO 400, I could get enough depth of field to get my subject’s main features if I wasn’t too close, as was the case with the blue legged hermit crab.
Using flash helped quite a bit in some regards, but wasn’t quite the magic bullet that I’d hope for either. I did get consistent (and easy) color balance and much better depth of field, certainly. I shot at f16 with my flash on 1/4 power, and could easily have gone up to f22, but I know that my lenses are not nearly as sharp at such small apertures (and they show more dust on my sensor!).
That said, I thought that I would be able to shoot with my camera hand held. While I got decent results much of the time, especially when taking wider shots… at true macro distances, though, I did get some motion blur and a tripod would have produced noticeably sharper photos.
I find that a lot of the texture, contrast that can really make a photo stand out come with good post-processing. Shortly, I’ll post a video tutorial showing how I process photos in Photoshop to get the types of results seen here, so check back soon!
Please do not copy this article (or any others from this site) and post it on forums, websites, or blogs. I’m happy to allow you to copy portions of the text and even hot-link a few photos, but please post a link to this blog for the full text.

