New: Microsoft Camera Codec Pack
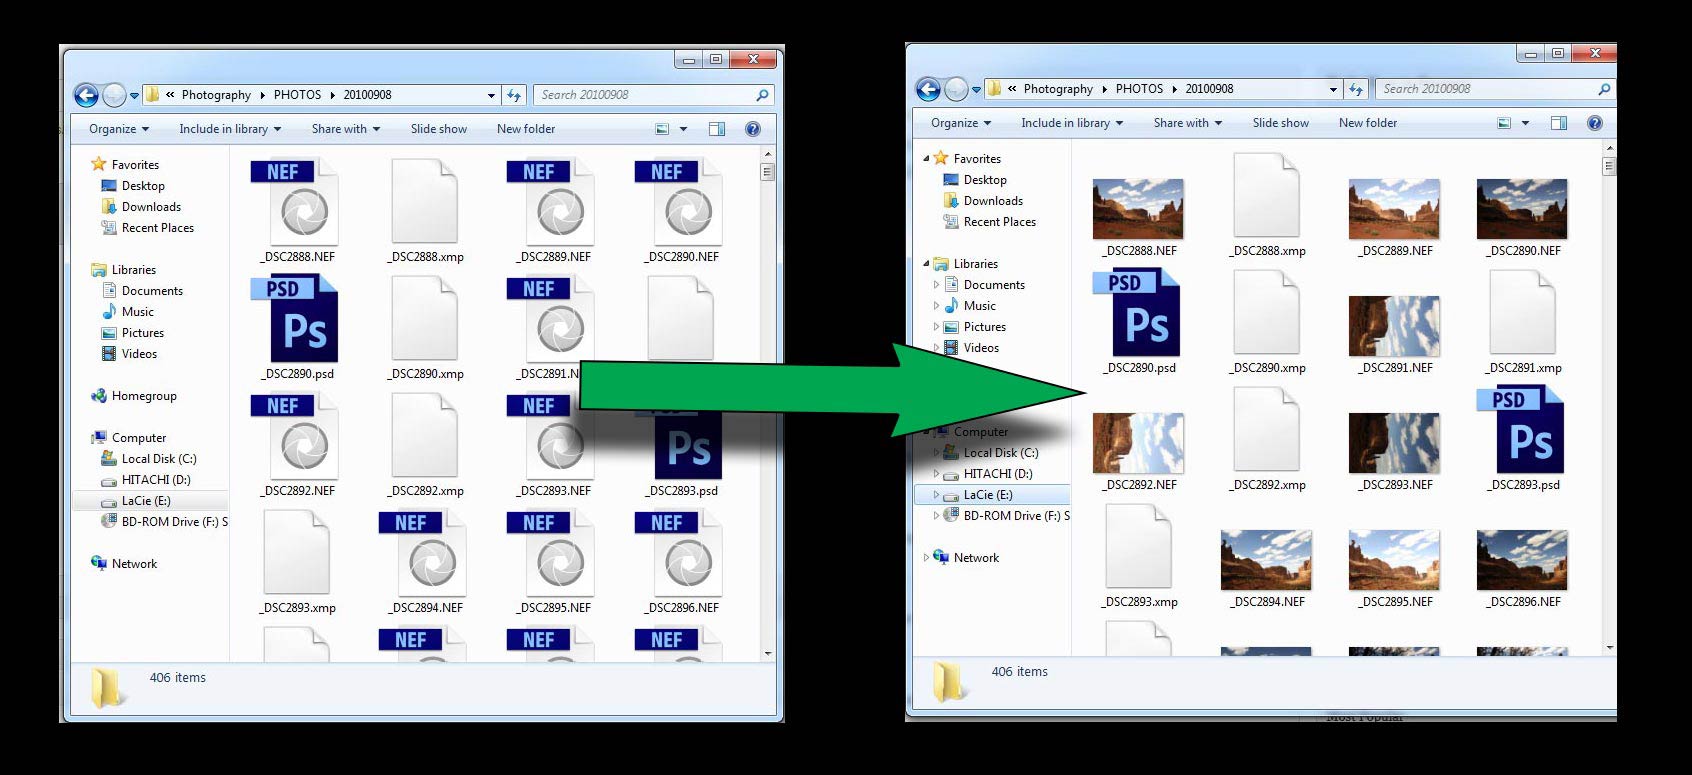
[I]f you have a high quality digital camera and use Windows, you now have one fewer reason to not shoot in RAW format. In the past, shooting in RAW usually meant that your files would show up as generic icons when browsing through your image folders, even in Windows 7.Not anymore.
Now, Windows user can download the Microsoft Camera Codec Pack, which allows your computer to generate thumbnail images from a wide variety of the most popular RAW formats, including Canon, Nikon, Sony, Olympus, Panasonic, Pentax, and Leica, among others. Microsoft lists the specific camera models that are currently supported, and unfortunately, some popular models are conspicuously missing at the moment, such as the Canon 60D, T3i, and recent models like the 5D Mark III. Similarly, Nikon’s D800 and D3200 are not yet supported.
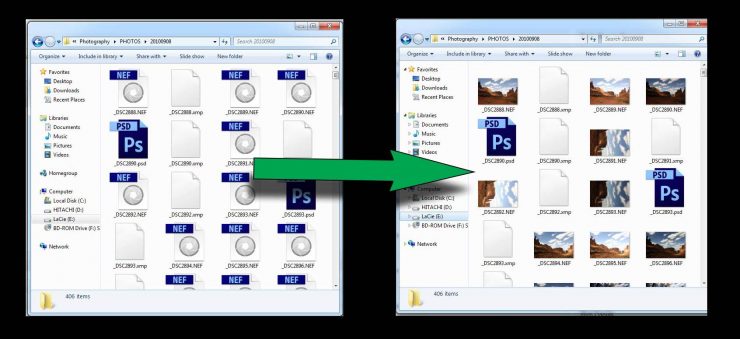
The installation is quick and easy. Simply download the file that’s appropriate for your version of Windows (there are 32-bit and 64-bit versions) and run it, and reboot your computer. Now, when browsing your files, you’ll see nice little previews of your images rather than a sea of the same generic one. It’s quick, too. On my computer, even if I browse to a folder with several hundred RAW images, the thumbnails are almost instantly available, and as I scroll through the files, the thumbnails appear as fast as I can scroll.
This development is particularly important for Photoshop CS6 users. For some reason, the “Open File” dialog browser in Photoshop CS6 no longer creates a file preview at the bottom if the window (perhaps to nudge users in the direction of using mini-Bridge instead). This means that if you browse to a directory of RAW images, there’s no way to tell which image you’re opening unless you happen to have memorized the file numbers that correspond with your photos. Though I do usually use Bridge, I rarely use mini-Bridge, and there are times when I want to quickly open a file from the “Open File” dialog, and with the advent of CS6, I just couldn’t do it anymore; it was a real annoyance.
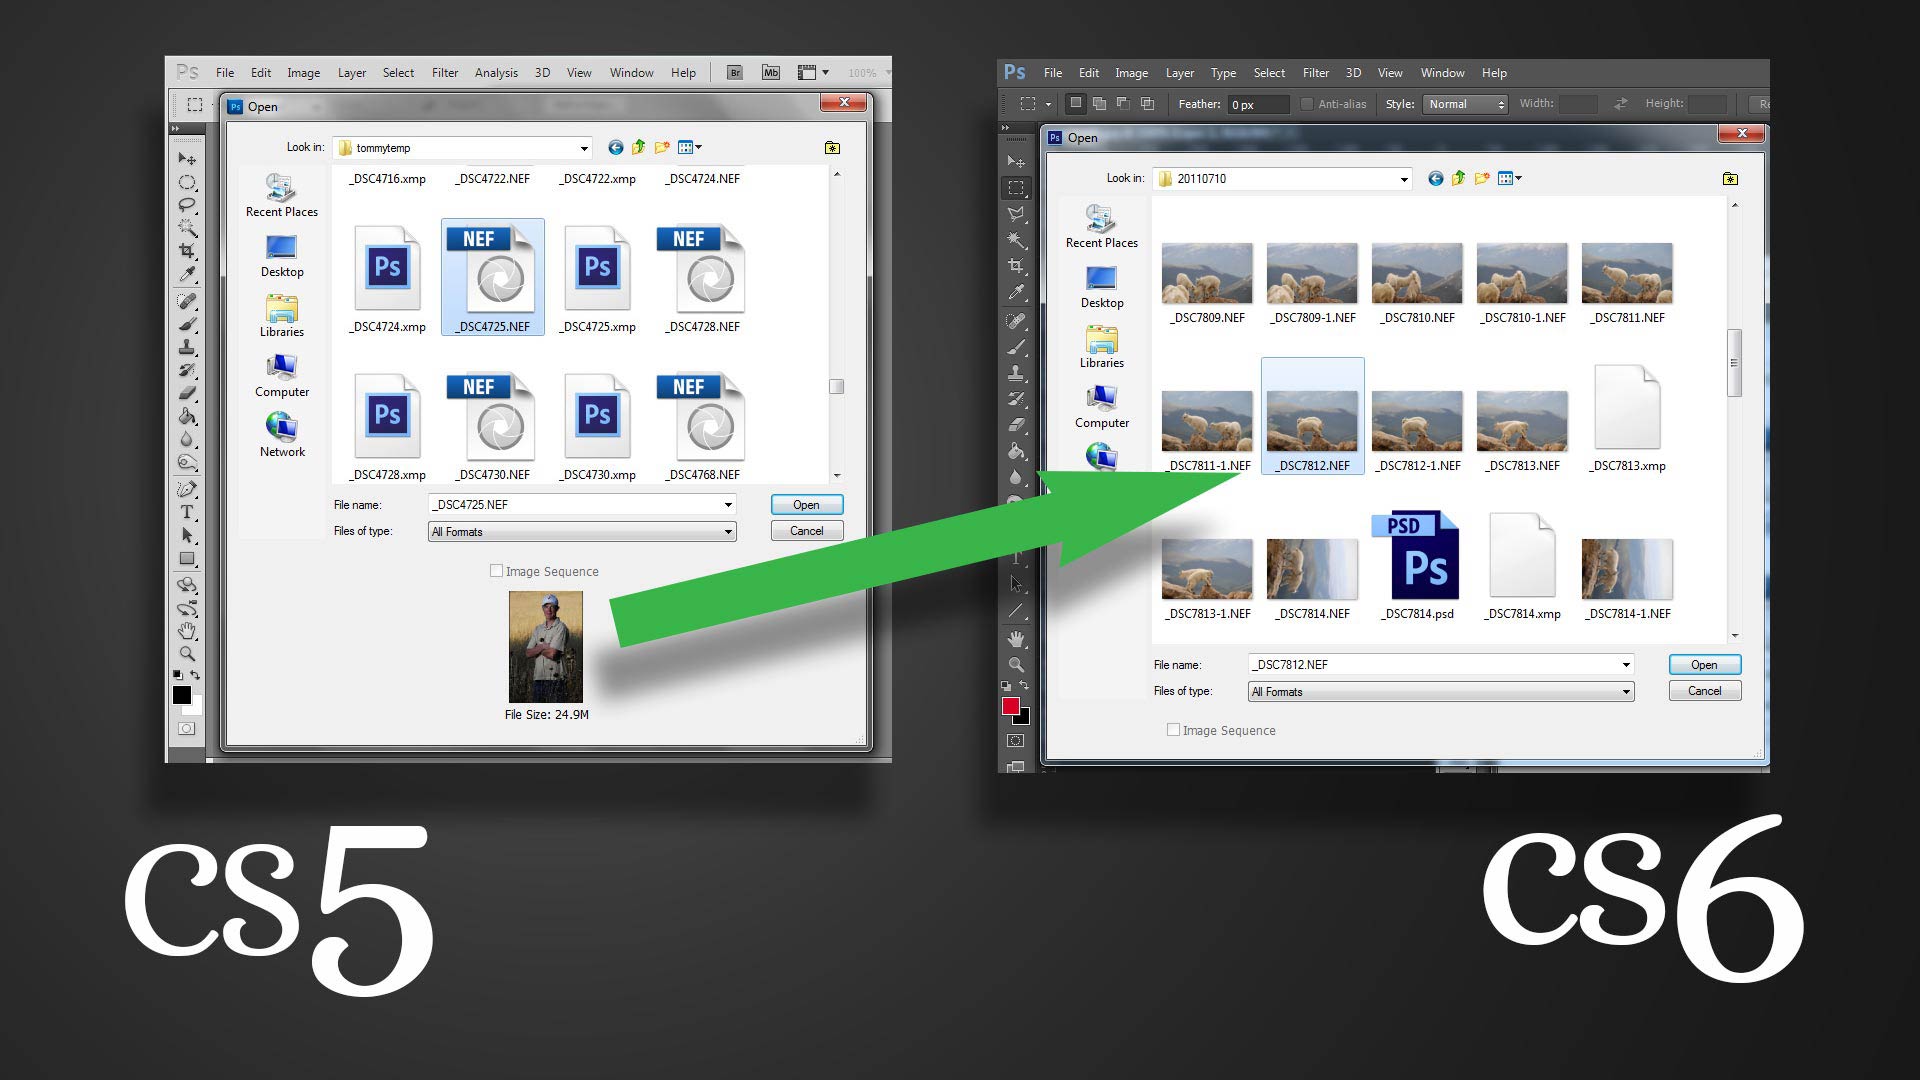
Installing the Camera Codec Pack, though, solves the problem. In fact, the situation is improved over CS5. Instead of selecting a RAW file and waiting for a thumbnail to appear at the bottom of the window, the previews are instantly available for all of your (supported) images at once.
If you missed the links above, the Microsoft Camera Codec Pack can be downloaded HERE.

