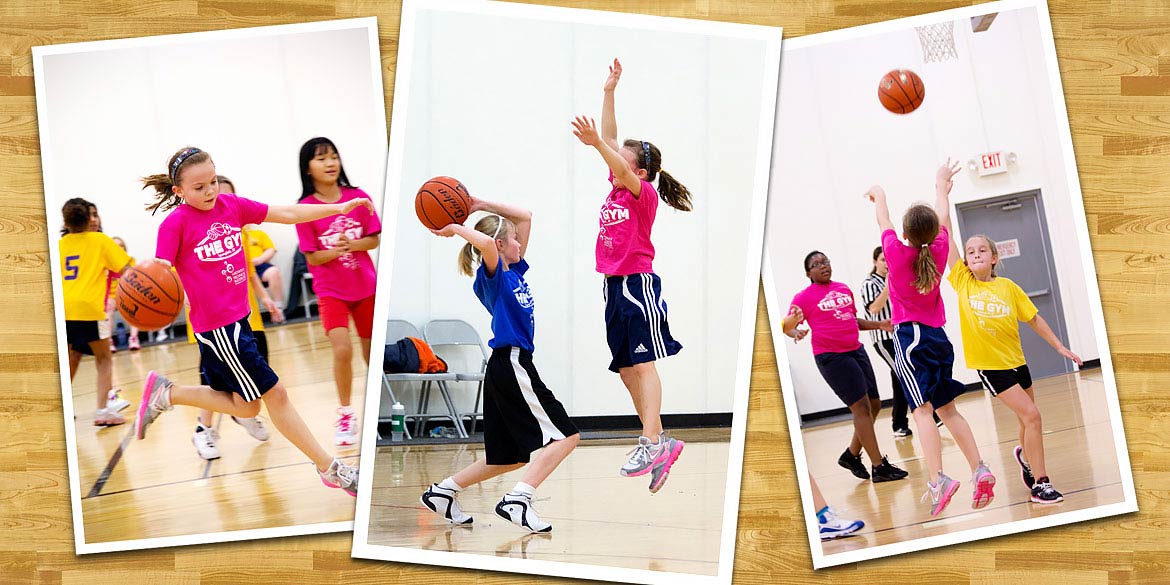
A year ago this month I got my first DSLR; a Canon 60D. The sole reason for the purchase was to get better pictures of my kids playing basketball. Like most new DSLR owners I had high expectations, and no clue what I was doing. Until I learned a few things, my new camera just took higher resolution dark pictures than my old point and shoot. If this more or less describes your situation, don’t worry. I’m going to teach you the things that made a world of difference for me.
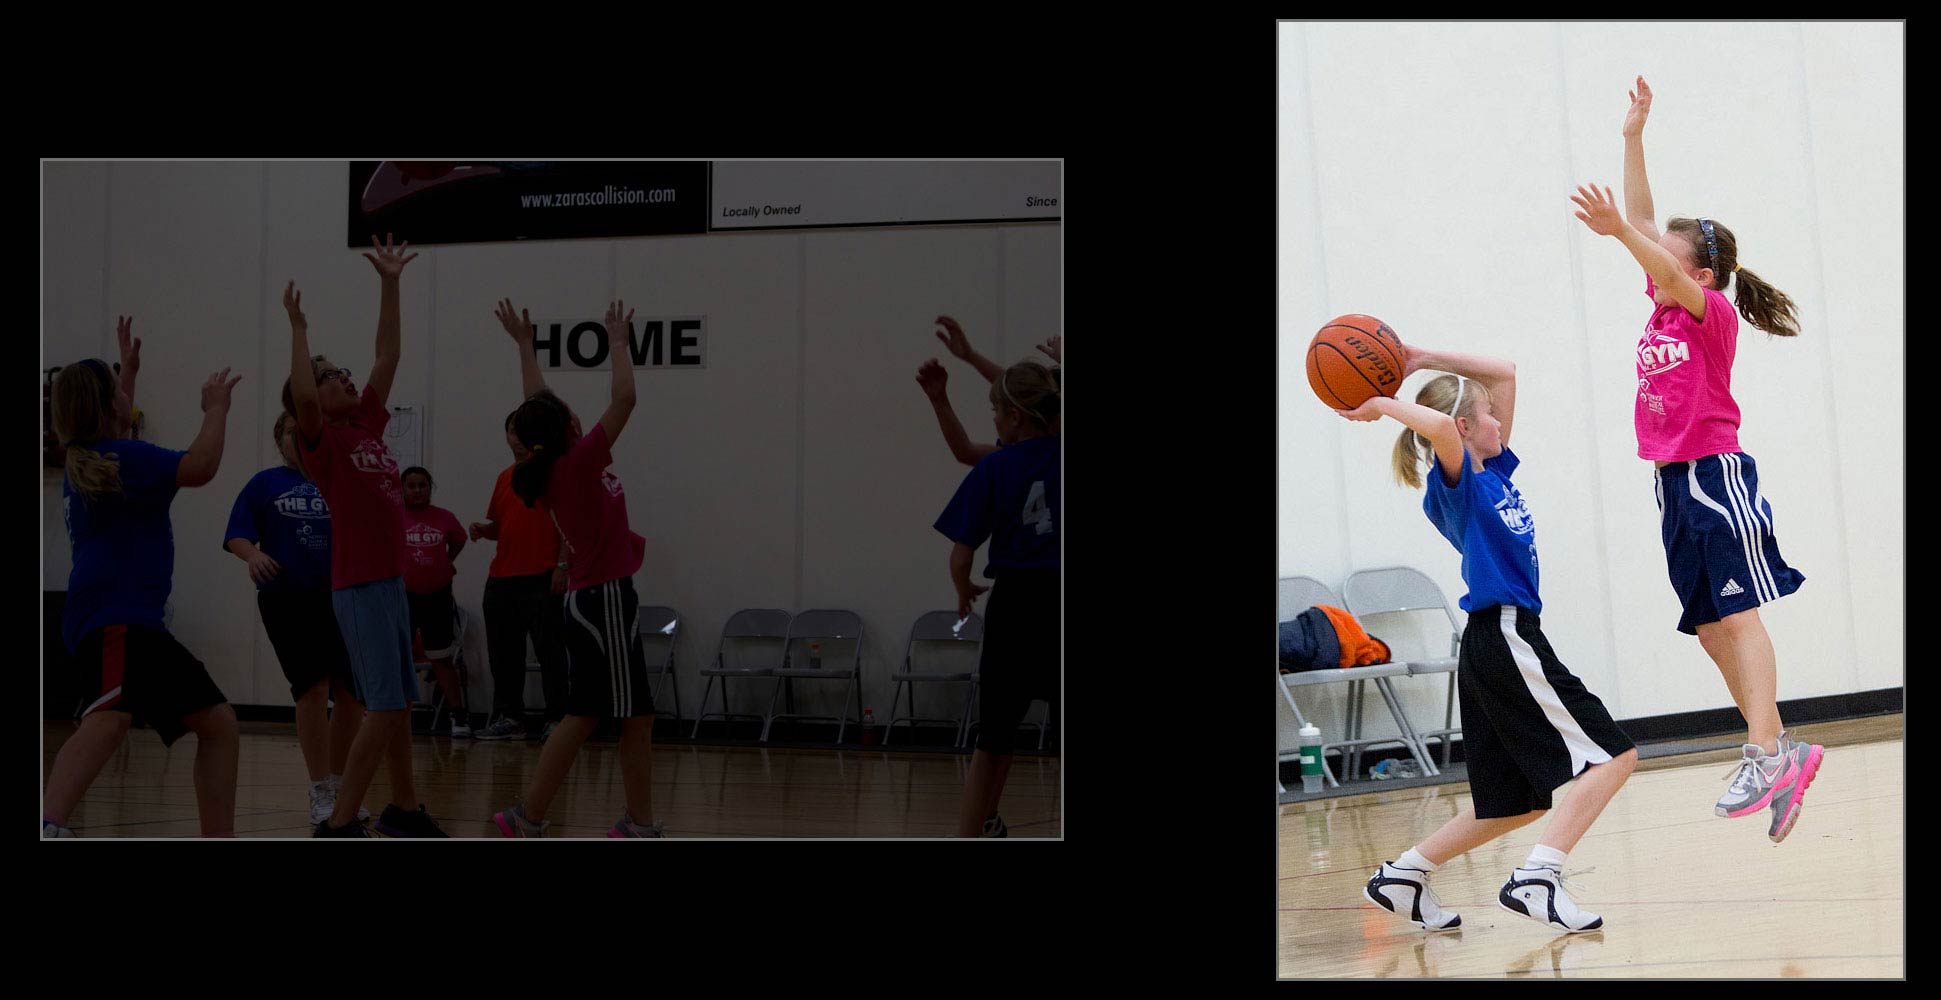
A lot of time can be invested in understanding aperture values, shutter speeds, and ISO settings, but if you just got a shiny new DSLR camera because your point and shoot was taking dark or blurry basketball photos, the last thing you want to do is start reading books! You want better pictures now! Well, let’s get to it.
The three settings that determine if your photo will be blurry, noisy, or partly out of focus all offset one another. This means that to maintain a particular brightness level, if you adjust one, you need to adjust one or both of the others to compensate.
Here’s what you need to know to get started:
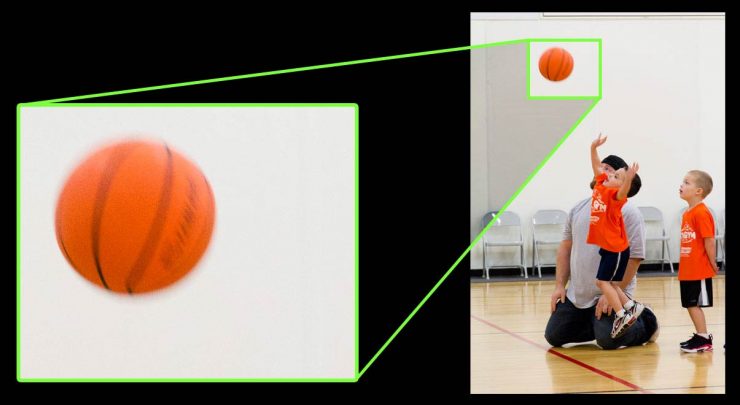
Shutter Speed
- Slower (e.g. 1/ 60) = blurry pictures, but brighter
- Faster (e.g. 1/250) = less blurry, but darker
- Common Values (brighter to darker): 1/15, 1/30, 1/60, 1/125, 1/250, 1/500, 1/1000, 1/2000
ISO
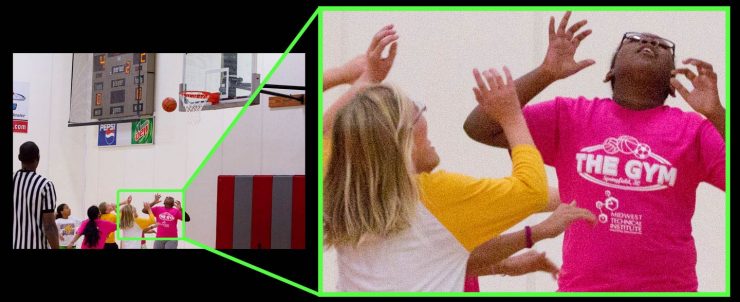
- Higher (e.g. 1600) = noisy pictures, but brighter
- Lower (e.g. 200) = less noisy, but darker
- Common Values (brighter to darker): 3200, 1600, 800, 400, 200, 100
Aperture
- Larger (e.g. f/1.8) = blurry background, but brighter
- Smaller (e.g. f/5.6) = clearer background, but darker
- Common Values (brighter to darker): 2, 2.8, 4, 5.6, 8, 11, 16
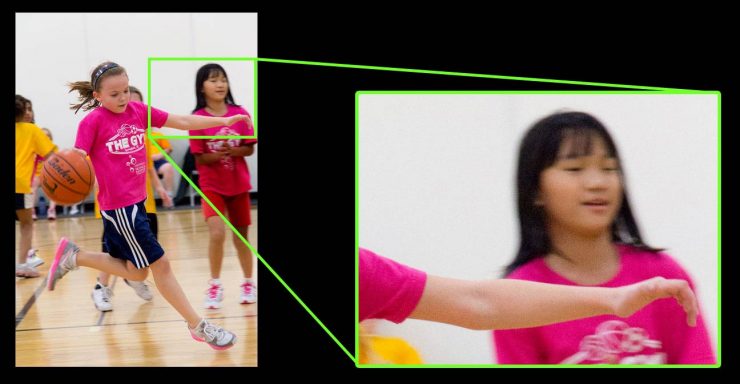
Now let’s take a look at a working example.
On a cloudy/overcast day you might take a correctly exposed (not too bright, not too dark) flower picture using:
- Shutter Speed of 1/125
- Aperture of 5.6
- ISO of 200
But those same settings won’t work on a fast moving child. To make sure the child isn’t blurry from running around when you take the picture, you’ll need a faster shutter speed. A speed of 1/500 should definitely do the trick, but since we’re moving two notches (stops) darker on the Shutter Speed scale (above), we’ll need to move two notches brighter on ISO or aperture (or one stop brighter on each). That’s all there is to it. If you adjust one setting, you’ll need to adjust one or both of the others to compensate. Let’s take a look at a few options for adjusting from a shutter speed of 1/125 to 1/500:
Option 1 – Increase ISO by two stops: Result = more noise (grain)
- Shutter Speed of 1/500
- Aperture of 5.6
- ISO of 800
Option 2 – Open aperture by two stops: Result = less area in focus (background appears more blurry)
- Shutter Speed of 1/500
- Aperture of 2.8
- ISO of 200
Option 3 – Increase ISO by one stop and aperture by one stop: Result = slightly more noise and slightly shallower depth of field (e.g. how much of the picture is “in focus”)
- Shutter Speed of 1/500
- Aperture of 4
- ISO of 400
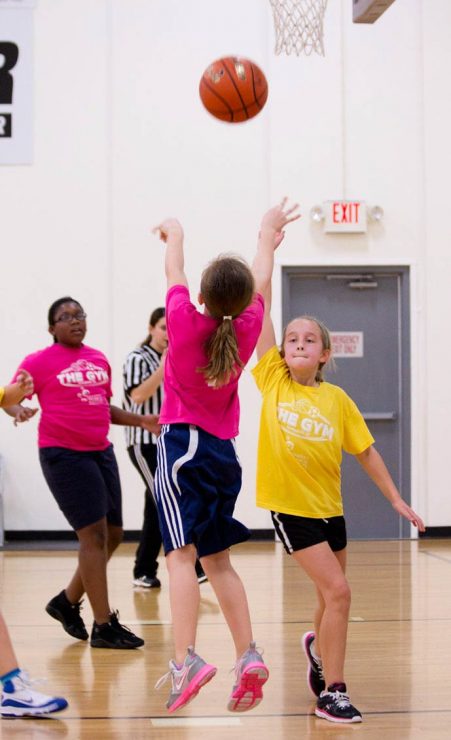
In each of the three options above, the shutter speed has increased two stops (from 1/125 to 1/500), and adjustments in ISO, aperture, or both have been made to maintain exposure (brightness).
So, in sticking with the basketball theme, the most important one of the three is shutter speed. It needs to be 1/250 or faster (1/500 or 1/1000, etc.) to stop taking those blurry pictures. There’s a mode on all DSLR cameras commonly referred to as ‘shutter priority’ mode (‘Tv’ on a Canon, ‘S’ on a Nikon). The next time you’re in the gym, put your camera in that mode.
With the camera in shutter priority mode, set the shutter speed to 1/250, and take photo of a someone. In this mode, the camera will have done its best to adjust ISO (assuming ISO is set to ‘Auto’) and aperture to get a nice bright photo. If the brightness is ok but the players are still blurry, bump the shutter speed up to 1/500. That should all but guarantee the blurry-ness goes away, but may make your photo dark depending on the lighting in the gym.
If you get photos that are too dark at 1/250 or 1/500 in shutter priority mode, chances are, you have three options:
- Don’t zoom in. Most lenses that come with cameras have a variable maximum apertures, and as you zoom in, they get smaller (darker pictures)
- Get a new lens. As painful as it sounds, especially since you just got that shiny new expensive camera, purchasing a fast lens may be your only option. By ‘fast lens’ I mean one with an aperture value of f/1.4, f/1.8, f/2.0, or f/2.8
- Use a flash. All of the photos in this article were taken without a flash. Using one, like the Canon 430 EX II would all but guarantee a nice, bright, blur-free photo. It may however distract the players, so that’s something to consider.
The purpose of this article is to alleviate some of those beginner, just-bought-my-first-DSLR frustrations. Once you’ve used this tip to gain some control over how your pictures look, I’d strongly recommend reading Matthew’s articles on The Three Basics of Photography and Photography’s Unifying Theory: The F-Stop. Both of these relatively short articles will dive further into the basics of photography I’ve touched on. I highly recommend checking them out.

