Following the demise of Flash/.SWF format, this article has become obsolete. Someday, I may create these animations in a modern format (HTML5 or something), but for now, I wish you good luck.
Creating 360 Degree Object Rotations
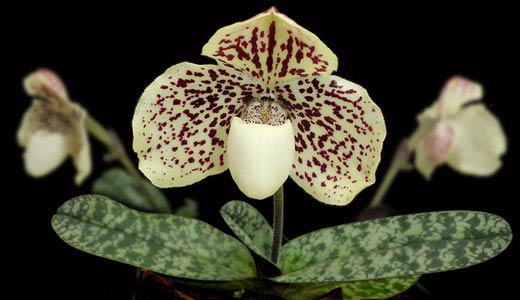
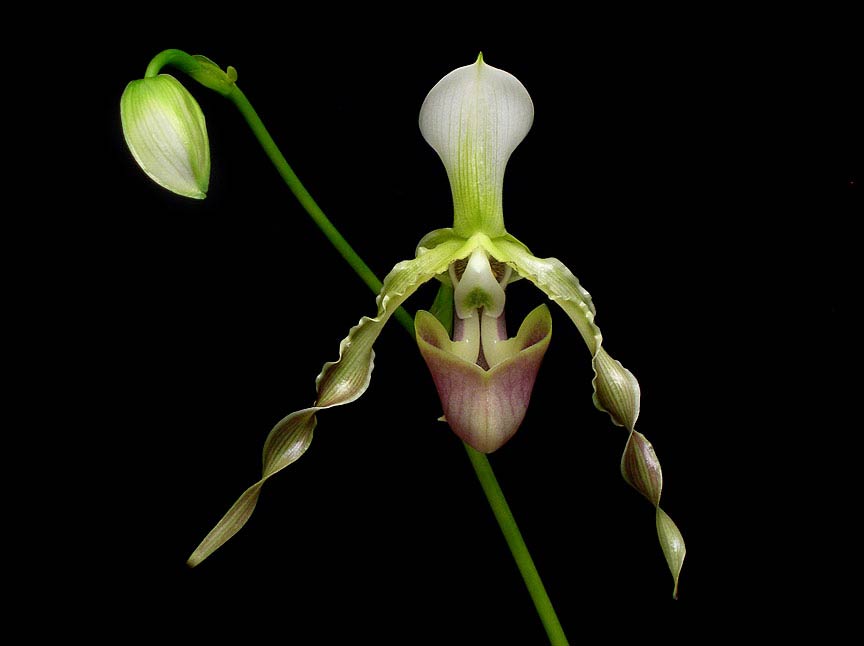
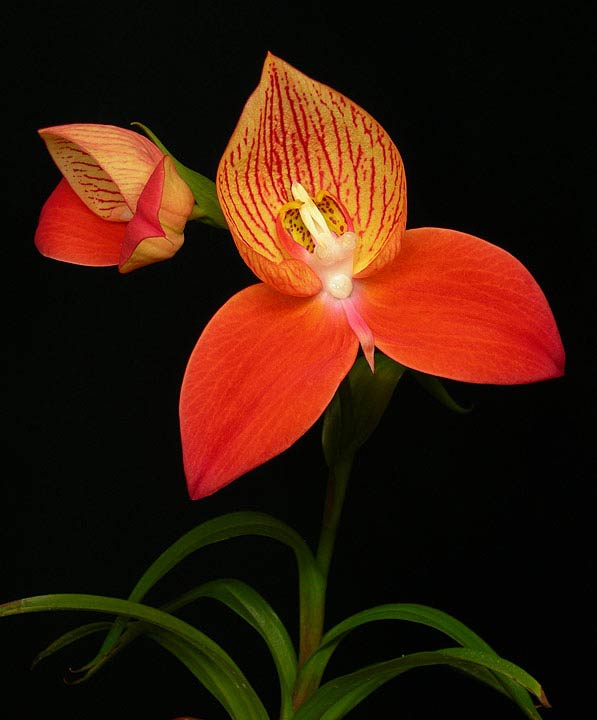
For several years I enjoyed growing orchids, and during that time one of the biggest attractions of my website was the 3D Gallery. As soon as I published my first project, the page started getting hits from all over the world. It was a great way to display the orchids, and it was a very fun way to increase the traffic on my website. And of course, people always asked me how I did it. This is how.
Taking the Photos
There are, however, a few more items to keep in mind:
- Set your camera to manual exposure, if possible, and use the same exposure for all of the photos. If you allow your camera’s auto-exposure to change as the bloom rotates, you may get flickering or brightness shifts that negatively impact the smoothness of your rotation. If you can’t manually expose, then pull back from the bloom and frame the entire plant. This way, the tonal changes between frames are relatively minimal.
- Set your aperture to a smaller setting than normal. Since you’re going to be publishing the project at a small size (even full screen of a 1080p HD monitor is only 2 megapixels), the slight sharpness that you’ll lose to diffraction is a non-issue. Try f16 or even f22. The extra depth of field that results makes for a much smoother, more pleasing result.
- Use a tripod and remember to set your white balance / color balance! This is extremely important when photographing color-critical subjects like orchids. If you have an X-rite Color Checker, this is the time to use it.
- I also recommend using flash (with a reflector, as described in the previous article). With any closeup photos, its hard to get crisp detail, and when you’re moving the subject constantly, it’s sometimes hard to get the bloom perfectly still, and flash will give you a sharp photo regardless of the motion in the subject. If you’re not using a flash, then be very patient and wait for the bloom to be absolutely still before taking another photo.
There are numerous ways to take the series of photos, so I’ll outline my method with the understanding that there’s plenty of room for variation and improvement.
Step One : Procure some kind of a turn-table. For me, the easiest option was to use a swiveling office chair! I’d remove the back, and place a board, large book or other heavy, flat surface across the top of the seat to even it out a bit. For miniature species, you could easily use a lazy-susan or even an old record player (power off).
Step Two: Locate its center of rotation. Centering the bloom is the most tedious part of the process, and there’s a lot of trial and error involved. My favorite trick is this: once I’d set up the platform on the chair, I’d tape a piece of blank white paper over the general area of the center. Newspaper works well, too. Then, I’d stand over the chair, staring down at the seat, and give it a spin. While the chair is spinning, hold a pencil to the paper in what appears to be the center (a paintbrush works even better if you have one handy). If you’re off-center a little bit, the pencil dragging on the paper as it spins will draw a small circle (or if you guessed badly, a big circle), and marking the center of the small circle is a snap. With a few spins, you’ll have the center of your platform marked on the paper.
Step Three: Center the Camera and Bloom. Attach your camera to your tripod and, if your tripod head has spirit levels, level it. Now, zoom in as far as possible and align your camera so that the center focusing point is on the center spot on the platform. Lock all of the tripod controls except for the up/down tilt (which is the only control you’ll adjust later). This should keep your frame centered relative to the axis of rotation.
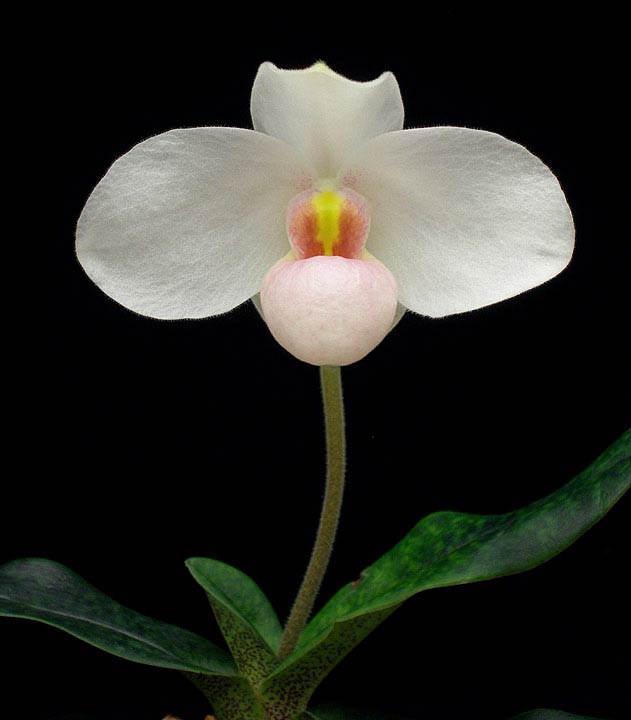
Finally, tilt your tripod head up so that it’s aiming at your bloom. If the bloom doesn’t look centered though the viewfinder, adjust the bloom, not the camera! Then, rotate the platform 90 degrees, and again, check whether the bloom is centered, and adjust accordingly. I usually do this at 0, 90, 180, and 270 degrees, and sometimes it takes multiple tries. The process is a somewhat forgiving, and the bloom doesn’t need to be perfectly centered, but it does need to be centered enough that it won’t move out of your camera’s frame during the 360 degree rotation.
Once I think that I have the bloom centered, I tape the pot down to the platform with masking tape to keep it from shifting during the final rotation.
Step Four: Take the series of photos. You’ll want to take at least 25 photos, but I find that 40-60 gives the best quality without slowing things down too much. My first shot in the series usually starts 90 degrees from the front of the bloom. Frequently, despite all efforts, the bloom moves a little bit during the course of a full rotation, which causes a little bit of a hiccup at the loop point, so I don’t want the loop point to be right in the most important part of the rotation. After taking the first shot, it’s simply a matter of rotating the platform a little bit, taking another shot, and then rotating again. If you’re not sure how many photos to take, always err on the side of too many. It’s easy to throw out an extra shot later. Once you get around to your starting point again, keep going, and take a few overlapping photos, just in case. If the degree of rotation between photos isn’t exact (and you take more photos of the front of the orchid than the back, for example), it’s not a big deal. At worst, it will mean that part of your rotation will seem slower or faster than the rest. I’ve tried a few different methods of using the exact same spacing, but decided in the end that it was more trouble than it was worth. I’ll leave that up to you. Again, if you take more photos than necessary, you can always weed some out later.
Step Five: Process and re-size the photos. Once you’ve taken the photos, crop and process them as you see fit, and then resize them to something reasonable for the web, keeping in mind that the larger they are, the longer it will take people to download and display. I usually do this by creating an action in Photoshop, so that each image receives the same treatment as all of the others, to maintain consistency.
The size is your own choice; I find that with 50 photos, 600 x 800 pixels is about right, but whatever size you choose, make a note of it. Collect all of the photos that you’ll be using in a folder on your computer (excluding all others). If you’re using the EZ Flash tool, also rename your images so that they’re a numerical sequence starting with 01 .
Assembling the Photos
This, of course, is the part of the process that most people have been wondering about.
The work can be done in Adobe Flash. However, if you know how to use Flash, you probably wouldn’t be reading this… and if you don’t know how to use Flash, instructions would be completely beyond the scope of an article like this.
Luckily, there are easier options.
Click and drag the image at left to stop or manually control the rotation.
Option One
In the past, my tool of choice had been one of the older applications from Yofla. However, even that tool required use of Adobe Flash, a program to which not everybody has access. However, I’ve recently discovered that Yofla has created a new, free tool that doesn’t require any additional software, and it seems like a good place to start.
To begin, download and install the software Yofla 3DRT Flexi. It’s available for Windows, Mac, and Linux.
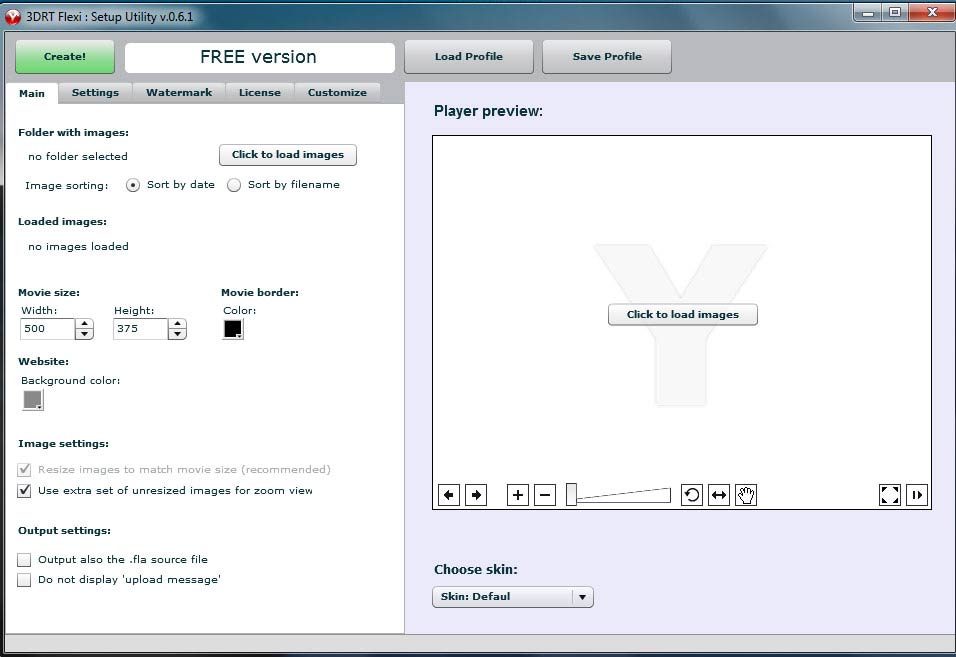
The rest is child’s play. When you run the program, you’ll see a button in the center of the preview window on the right that says “Click to Load Images”. Click it, and browse to the folder where your finished, resized photos are. You can then re-size the project using the size fields to the left, if desired. When you’ve finished playing with any other settings, just click “CREATE” in the top left corner, and the program will output files you need in order to publish your project. It’s that simple.
The only major downside to this method is the output format. The program produces a directory of images, a .swf file, an .xml file, a couple of javascript files, and separate directories of images. If you have a website of your own, this is no problem: you just upload all of that stuff to the same directory as your html page, embed the .swf file, and you’re all set. If, however, you want to display it on a forum or blog, this collection of files is not very easy to work with.
Option Two
If you have some basic familiarity with Flash, another option is to use the Yofla 3D Rotate EZ Flash component, which outputs the entire project to a single .swf file. The free version displays a link to Yofla (as seen in this article), but if you get serious with these things, you can pay a relatively small fee for the pro version and it will be removed. Numerous similar tools and templates available for Flash users on the web, such as this one from Flash Components .net, which costs $5.
And that’s it! Hopefully, that will get you started on your own 3D projects… with orchids and otherwise! Let me know if you have any questions, or would like clarification.
Additional orchid examples can be found at the same old 3D Gallery. I would have liked to put more in this article, but the page load time would have become intolerable.

