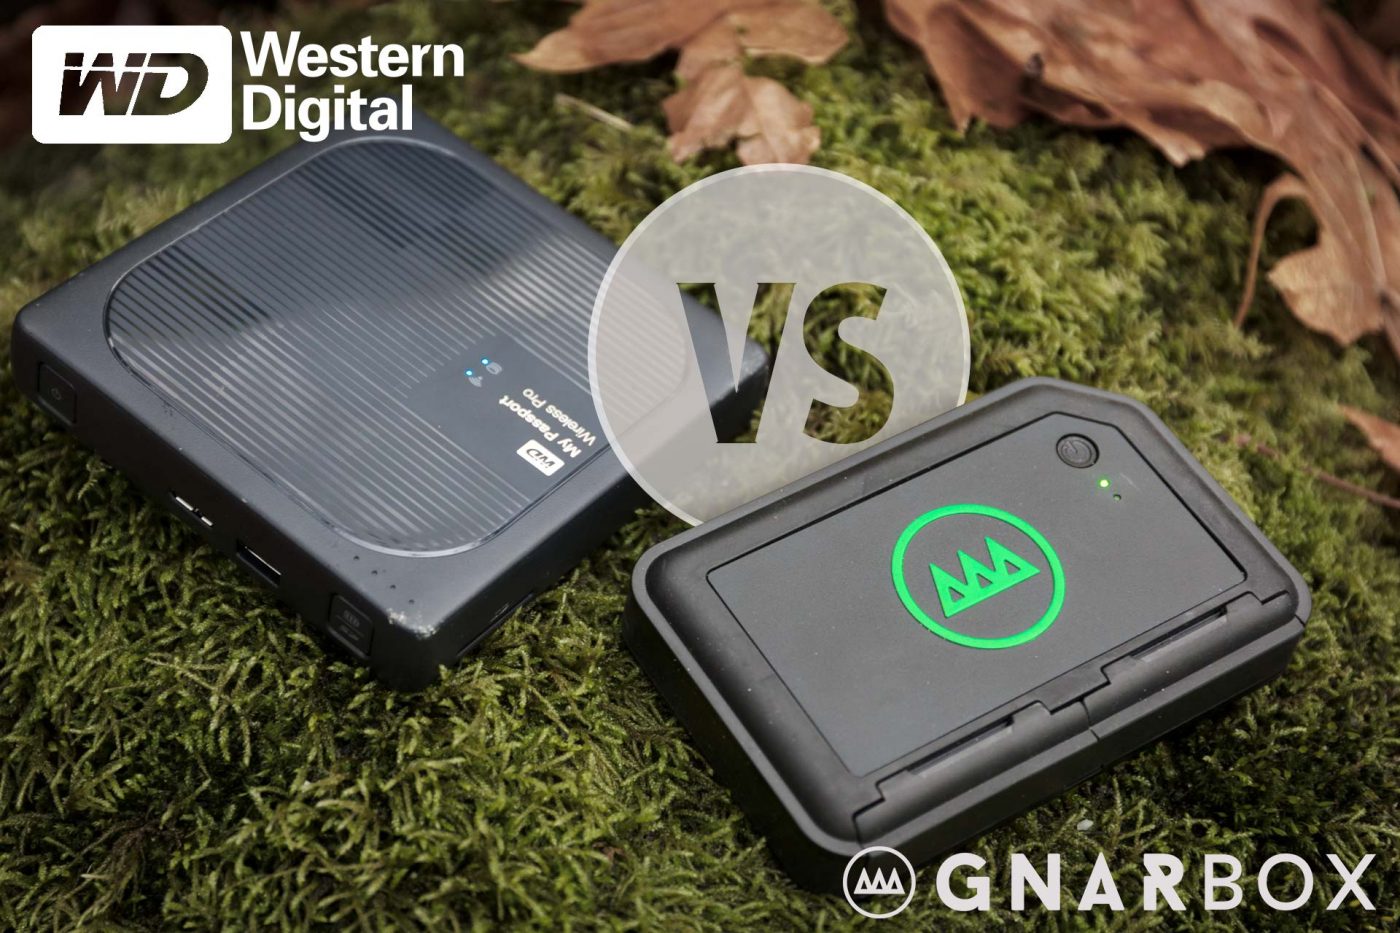
At first glance, it appears to be just another portable hard-drive, but Gnarbox promotes their device as an alternative to carrying a laptop while traveling in the back-country. It contains a quad-core processor and 256GB of solid-state storage, and apps that allows you to control it through your smart phone or tablet. But it’s not cheap. The Western Digital MyPassport Wireless Pro also contains a CPU, a dual-core Realtek RTD1195PN, which helps allow the device to run apps like Plex Server and simultaneously stream multiple videos to several connected devices, it costs half as much as the Gnarbox, and the version that I tested contains a 2TB hard-drive. Which one makes more sense for a working photographer to carry? Let’s take a look. Note: Gnarbox provided me an early unit for testing.1 Gnarbox provided me with a review unit for free, but I did not receive and will not receive in the future any financial compensation for referrals, purchases, clicks or anything else from the company. I purchased the WD unit myself, and also have no ongoing relationship with the company. I try to remain as objective as possible in my reviews, but as with anything you read on the internet, take this with a grain of salt.
Build
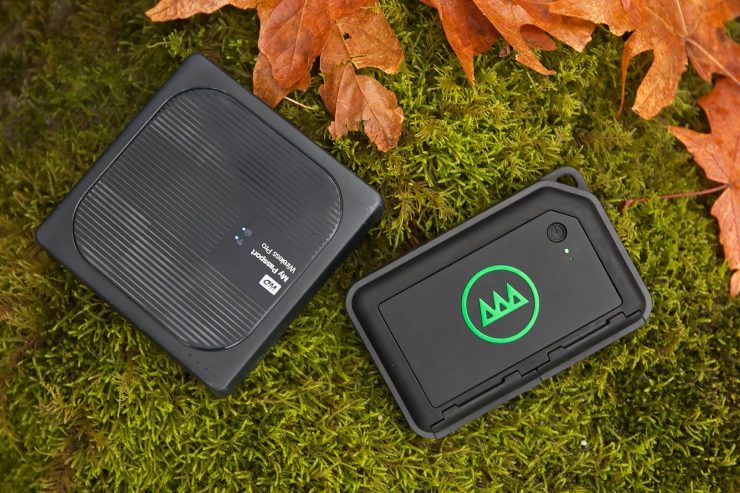
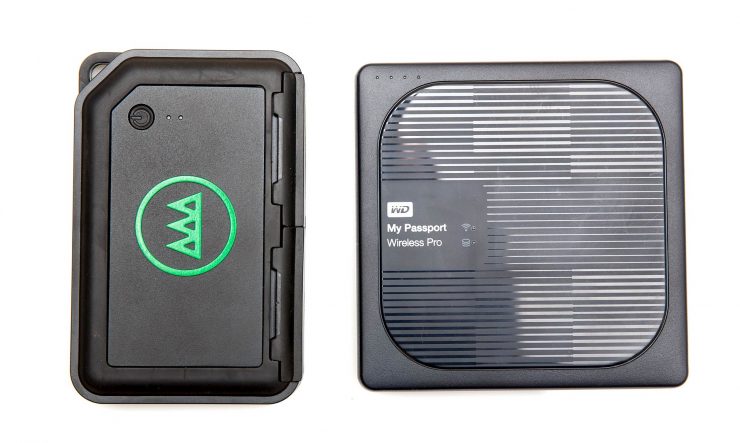
The Gnarbox was designed for back-country use, and it shows. Its rugged, rubberized case has two weather sealed doors protecting the card-reader slots and cable ports, and just as importantly, the inner workings of the box contain no moving parts (it uses solid-state memory rather than a spinning hard-drive), making it much more shock resistant. If you’re hiking through snowy conditions or rafting to your next destination, you can be pretty sure that your data will be safe in the Gnarbox. It’s not tiny like a plain external SSD, but it is still nice and compact: 5.25 inches by 3.4, and about one inch thick.
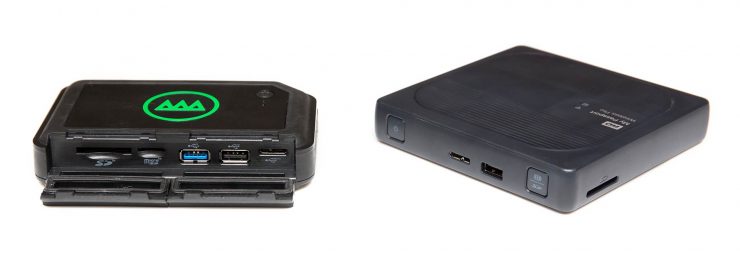
If ease of access is more important to you, then the Passport Wireless‘s ports and slots are not hidden behind stiff doors that sometimes need to be pried open with a coin2 My Gnarbox is new, and perhaps will loosen up with age, but for now it’s a pain to open the side doors without a tool or gloves. , so they’re easy to get to. The body of the drive is a square (about 5 x 5 inches, and 7/8ths inch thick) of normal drive-enclosure plastic, and a bit bigger than the Gnarbox, though not as thick. It’s not especially grippy, and I almost immediately dropped mine on some rocks and dinged up a corner (visible in the photo at the top of the page), but it still works for the moment.
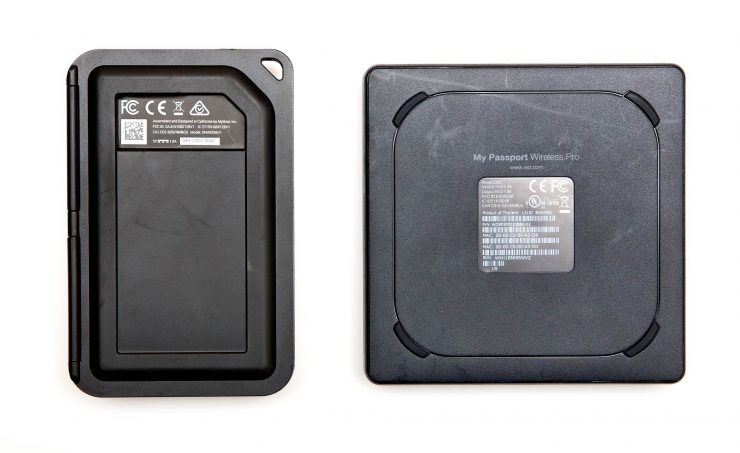
Takeaway: If you work around town, then the Passport’s build and accessibility make it great for backing up data while on the go, but if you need something to count on in rough conditions, the Gnarbox is much more likely to protect your data.
Functionality
Connections & Speed
Let’s start with Wi-Fi. Both devices provide the option to connect directly to the drive’s WiFi hot-spot, at which point the drive can be controlled by an app (we’ll get to the apps in more detail later). Additionally, though, the WD Passport can be connected directly to an existing WiFi network so that it can be accessed as a network drive. Not only can the drive then be shared by a team that’s working on a project together (the Gnarbox supports multiple direct connections), it also means that you can continue using your WiFi internet at the same time… not currently possible with the Gnarbox3 Tim at Gnarbox assures me that this will be possible in the future with their v2.0 OS. . This is great if you’re in a hotel room and are working with the drive while also streaming music or pulling video clips from a remote drive, for example.
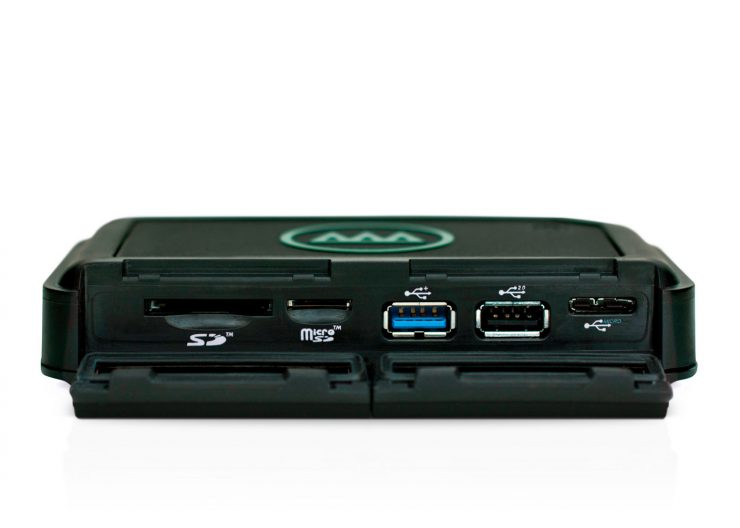
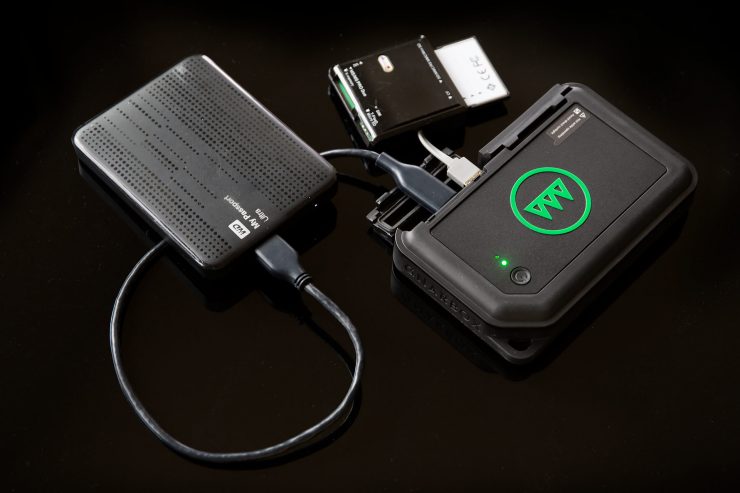
When it comes to hard connections, the Gnarbox offers more flexibility. While the WD has an SD card slot, the Gnarbox has full-size and micro-SD card slots, and though the WD has a full-size USB 3.0 port, the Gnarbox has full size USB 2.0 and USB 3.0 ports, and they both have one of those weird-shaped USB 3.0-sized ports that can accept a micro-USB plug in the right half (see photo below if you’re confused).
For Backup
On the Gnarbox, you can backup images (or simply transfer images from one drive to another) by connecting the drive/card, selecting the files in the Gnarbox app, and pressing the “Copy” button. This prompts you to select a copy location, either on the Gnarbox or another connected device. It’s not as streamlined or intuitive as it could be4 Initially, I was hesitant to press the “Copy” button because I didn’t know whether that was going to copy the images to my phone or transfer them to the Gnarbox or what. “Transfer” or “Import” would probably be a better label, there. , perhaps, but the added flexibility of attaching external drives is great, especially considering the fact that the internal storage is only 256GB.
These days, 256GB doesn’t go as far as you might think. It’s not uncommon for me to shoot 64GB at a basketball tournament in a single day on a Canon 5D Mark III, and if I’m shooting wildlife and landscape work, I prefer to shoot with the 5DS R, and shooting a couple thousand shots with that sensor (not uncommon when I’m shooting birds) can quickly balloon to 128GB. If you’re shooting DSLR video, your drive space will disappear even more quickly. With the Gnarbox, you can easily connect a second portable drive like a $100 WD MyPassport (4TB) (or a smaller, faster external SSD), but it also makes the Gnarbox a less compact, elegant storage solution.
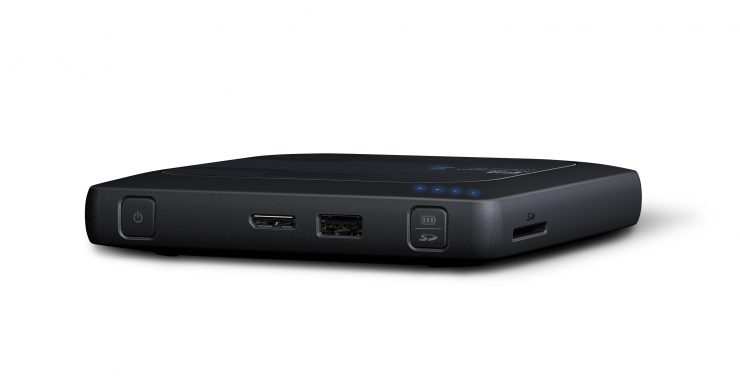
On the WD MyPassport Wireless Pro, you start with quite a bit more storage space at 2TB (or more, depending on the model). For simple operation, you have the option of setting the drive so that any time an SD card is inserted into the slot, it automatically imports all of the files to the drive. Alternately, you can open the WD MyCloud App on your phone and (if the app doesn’t crash, as it often does for me), you can press the MyPassport “settings” icon, then “SD Card Import”, and then “Import” from the card. Why this common function is hidden under the “settings” menu I can’t begin fathom, but it works simply enough once you know where it is. There is a similar option for importing from connected USB devices (including card-readers), but there’s no option to transfer files from one external drive to another, though that’s not much of a concern with so much storage space to begin with.
Takeaway: If you’re just looking for a quick backup and storage solution between shoots in town, the WD MyPassport is cheaper, simpler, and offers more storage, though you’ll need an SD Card adapter for your micro-SD cards. The Gnarbox is also fast and efficient for the job, but if you just use it for backup, you’d be wasting its processing power rugged build (and your money). If you’ll be spending more than a few days in the field, you may want to consider an external SSD to attach to the Gnarbox.
For Image & Video Editing
Before anything else, let me make it clear that the both devices have differing functionality on Apple and Android devices. With both devices on iOS, you can mount the drive and use it as a connected network drive, and browse and edit photos in Lightroom, for example. This is not possible on Android, currently.
I tested them both on Android.
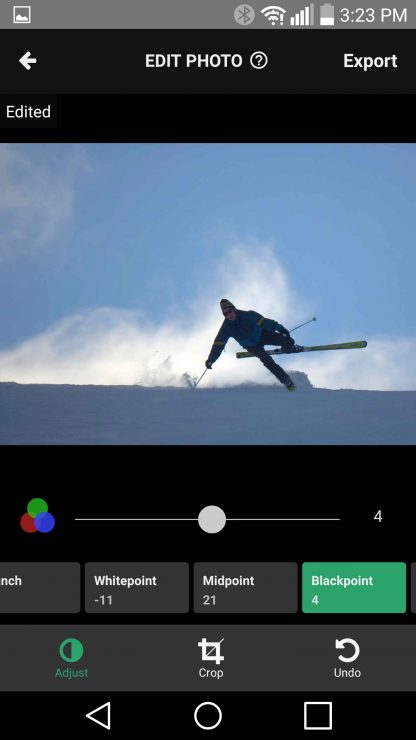
On the Gnarbox, using the Gnarbox app, you get quite a bit of functionality. Once you’ve imported your images and video, you can browse them all (arranged by date) from the app. Photos (JPG and RAW) can also be edited for posting to the web, though the Gnarbox app’s editing capabilities are not as sophisticated as something like Lightroom. Editing is non-destructive and adjustments include the expected (cropping, exposure, shadows, highlights, contrast, black point, white point, midpoint, temperature, tint, saturation) and also a couple of sliders that are a bit baffling to an Adobe user (punch, intensity) which must be combinations of contrast, saturation and other tonal adjustments, though exactly what they do is still not clear to me. Still, the basics are covered.
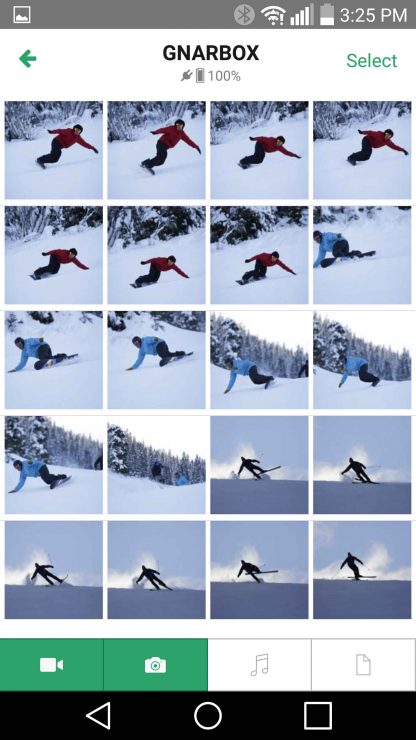
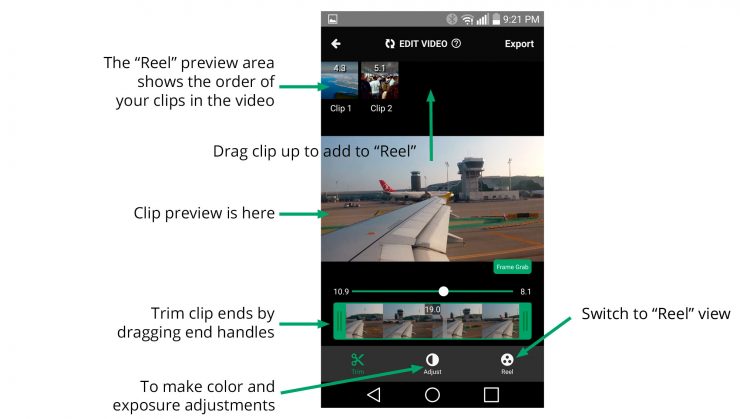
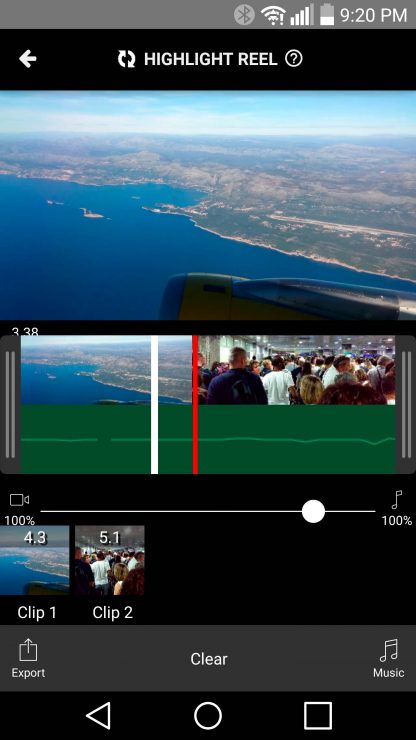
It can also be used for video editing, making use of the Gnarbox’s CPU to keep things smooth and fast. Individual clips can be edited with the same basic adjustments as still images, and you can drag the beginning and endpoints in to trim clip length. Additionally, each clip can be added to the work-space called the “highlight reel”, where you can order and arrange the clips into a longer video, and also add music. It’s remarkably quick and easy to use, though it doesn’t have the power of a workstation video editor (and there are no tools for text overlays, different transitions, audio editing, etc). You’re not going to produce a feature film with it, but even for a high-quality YouTube video, it could be enough. The nice thing is that you can work with large HD or 4K files while only dealing with smaller, proxy files on your phone, which keeps things quick and smooth.
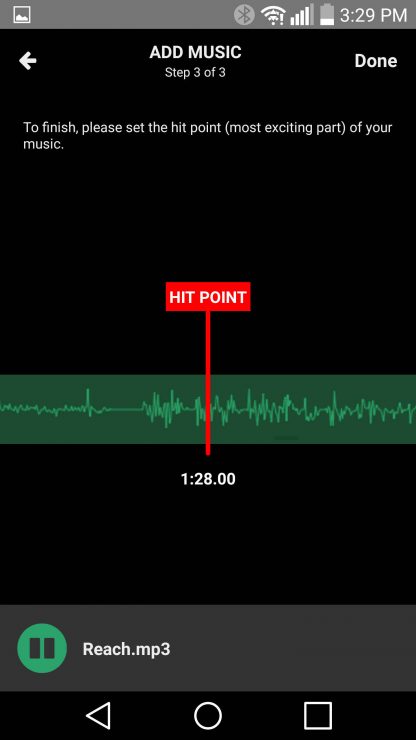
Problems? The audio functionality is pretty lame5 This is unfortunately true of most mobile apps, not just the Gnarbox. The only app that I’ve found with decent audio editing for Android is PowerDirector, so far. . You can add a single music track, but that’s it… no voice-over, no sound effects, no combining of multiple recorded files. This pretty much means that, unless you want to follow the same audio formula with all of your videos, you’re going to have to use some work-around. The easiest may be to produce the video portion using the Gnarbox, then export it (potentially as a small, SD file) and move it to your phone, then open it in a separate audio/video editor (like PowerDirector on Android or LumaFusion on iOS) to work with the audio. If you decide to use an SD video file for this purpose, you can then arrange the audio in your audio editor, export it as an audio file, import it into the Gnarbox app instead of a music file, and re-export it as a high-definition file. Yes, that seems like a bit of a mess.
Alternately, you could produce the audio portion on your phone/tablet first… assuming that you can do it without a video file for reference… and then simply load that as the music track in the Gnarbox, and create the video around it.
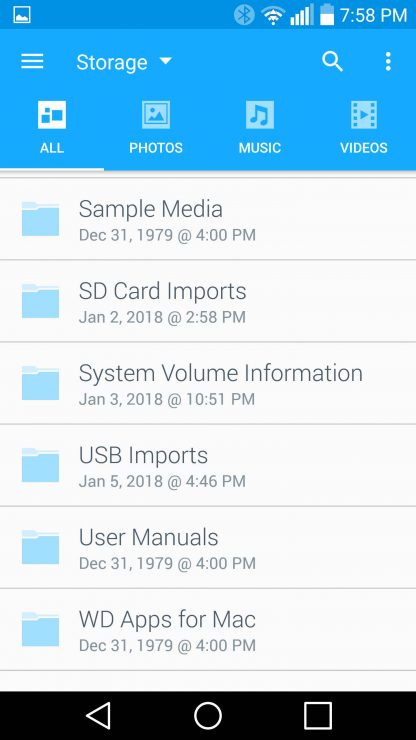

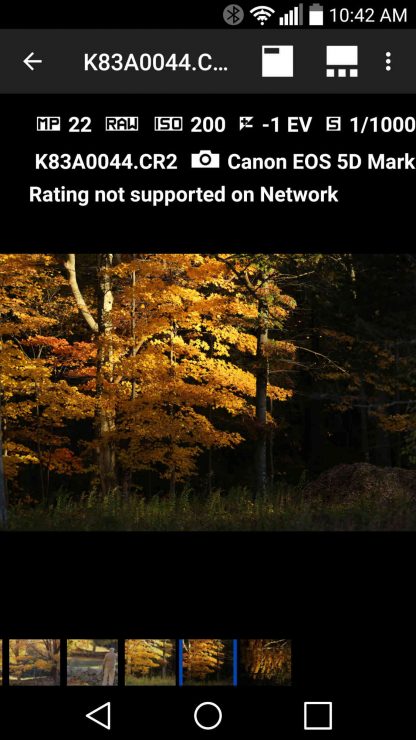
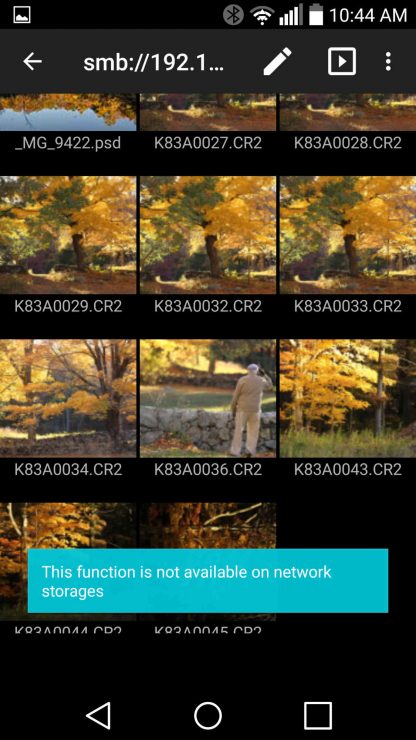
On the WD MyPassport Wireless Pro, there are no built-in photo or video editing options. You can browse thumbnails of JPGs, but not RAW files6 The new WD My Passport Wireless SSD claims to have support for RAW files, but since it uses the same app as a browser, it’s unclear what that means.]. Rather than using the WD MyCloud App, you can directly play videos with Android apps like VLC, which is nice[3. There’s plenty of room on the drive for storing movies, if you want to tote them along to watch on the plane or in your tent/hotel room. However, after exhaustive search, I could not find any Android apps that would allow me to connect to the MyPassport via the network connection and edit photos or videos. Photo Mate R3 came the closest: it allows you to browse network drives, and it has support for RAW files, and even PSD files, but you still can’t edit them. If you have sufficient storage space on your phone, you could import the clips/images that you want to work with, and then save the results to the WD drive again, but you won’t get the speed advantages of the Gnarbox’s CPU… you essentially reduce the Passport’s role to that of an oversized MicroSD card (perhaps that alone would be worth it, if your phone doesn’t have a MicroSD card slot).
Problems? The big one is the complete lack of editing capabilities of photos and videos on the drive. But even the WD My Cloud app is much less stable than I’d expect for such a big company, with the app frequently crashing for me. When it’s stable, the thumbnails for images often go blank, as though the cache has been lost and refreshing does not help matters.
Takeaway: If you’re an Android user and want to edit photos and videos using the power of your backup drive, the Gnarbox is the clear winner.
For General Use
It’s worth mentioning that both units can be used as powerbanks to recharge your phone or tablet, if necessary. That’s pretty handy. The Gnarbox battery is only a 4000mAh, about the size of a phone battery, so it’s best for emergency use, but the WD is a bit bigger at 6400mAh.
The Gnarbox is ultimately a great tool for specialized use: photo/video editing and mobile backup. If you want to use it for other purposes, though, it’s not as flexible. It’s not easy to just use it as a wireless network drive for your desktop computer at home, for example. And currently, it doesn’t support media streaming apps like Plex or Twonky servers. In an interview with Gnarbox CEO Tim Feess at PhotoPlus in October of 2017, I was told that in the future, Gnarbox may become an open platform and support a variety of different apps, but that time has not yet arrived.
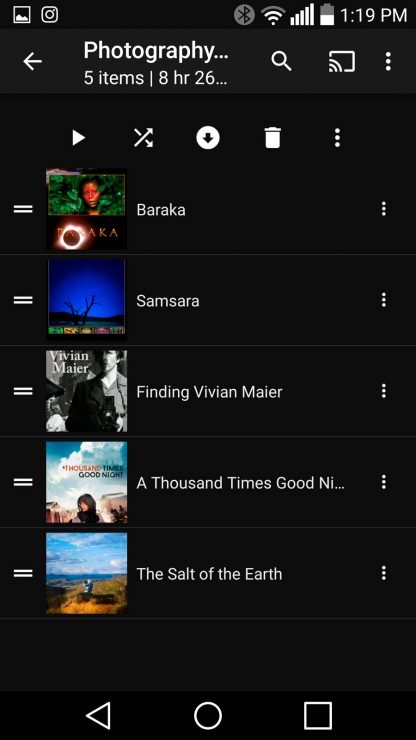
On the other hand, the WD MyPassport is exactly a general purpose device. It’s easy to connect it to a home or office WiFi network to be shared by multiple users. There’s no easy to way to install new apps on it (to run from the unit’s processor), but it does come with built-in support for Plex and Twonky, so streaming music and videos from it is simple from anywhere. You can even use it in your car, if you want to avoid streaming from your phone’s data plan. But of course, these don’t solve the problems of a working photographer.
Conclusion & Recommendations
If you are legitimately working in remote, harsh locations, then the Gnarbox is really the best option there is, especially if you can use it in conjunction with a tablet or phone to eliminate the need for a laptop and its weight. The Gnarbox’s build will keep your data safe through rainstorms and bumps along the trail, and it will allow you to get some of your basic photo editing and video production accomplished as you go. That said, if you shoot a lot of video or have a high megapixel sensor, you may need to supplement it with an external SSD or hard drive. Most people will probably only need the internal storage of the Gnarbox 256GB, though. The extra cost will be worth the security and functionality when you really need it.
If you’re a photographer who spends most of your time in the city, or even traveling between cities and primarily needs quick backup space rather than processing power, the WD MyPassport Pro Wireless (2TB) has about as much storage space as 8 Gnarboxes, and is better suited to casual use, like streaming music and videos during your downtime. And of course, it costs significantly less. If you’re an Android user, it won’t be much help for image editing, but iOS users may get more use out of it.
Either way, if you shoot with a Canon 5D series camera or a similar body that uses CF cards rather than SD, make sure that you get a fast, USB 3.0 card-reader to connect to your device for fast data dumps.
And finally, as I was preparing this review for publication, Western Digital announced a new version of their MyPassport Wireless Pro at CES 2018. It appears to be identical except for an orange stripe and the inclusion of solid-state drives (500GB, 1TB, 2TB) rather than spinning plates, and of course, there’s the expected increase in price to go along with them ($350, $600, $900). After a cursory examination of these new models, my recommendations remain the same.
Price and Availability
The Gnarbox 256GB model costs $399, and a 128GB is still available for $299, and they’re available at Amazon, B&H, and Adorama. The WD My Passport Wireless Pro 2TB costs $149, with larger a larger 4TB version costing $229. These are also available at Amazon, but can typically be found at your local Best Buy or other consumer electronics stores as well. The new SSD models can be found online now, and will probably be available in stores soon.

