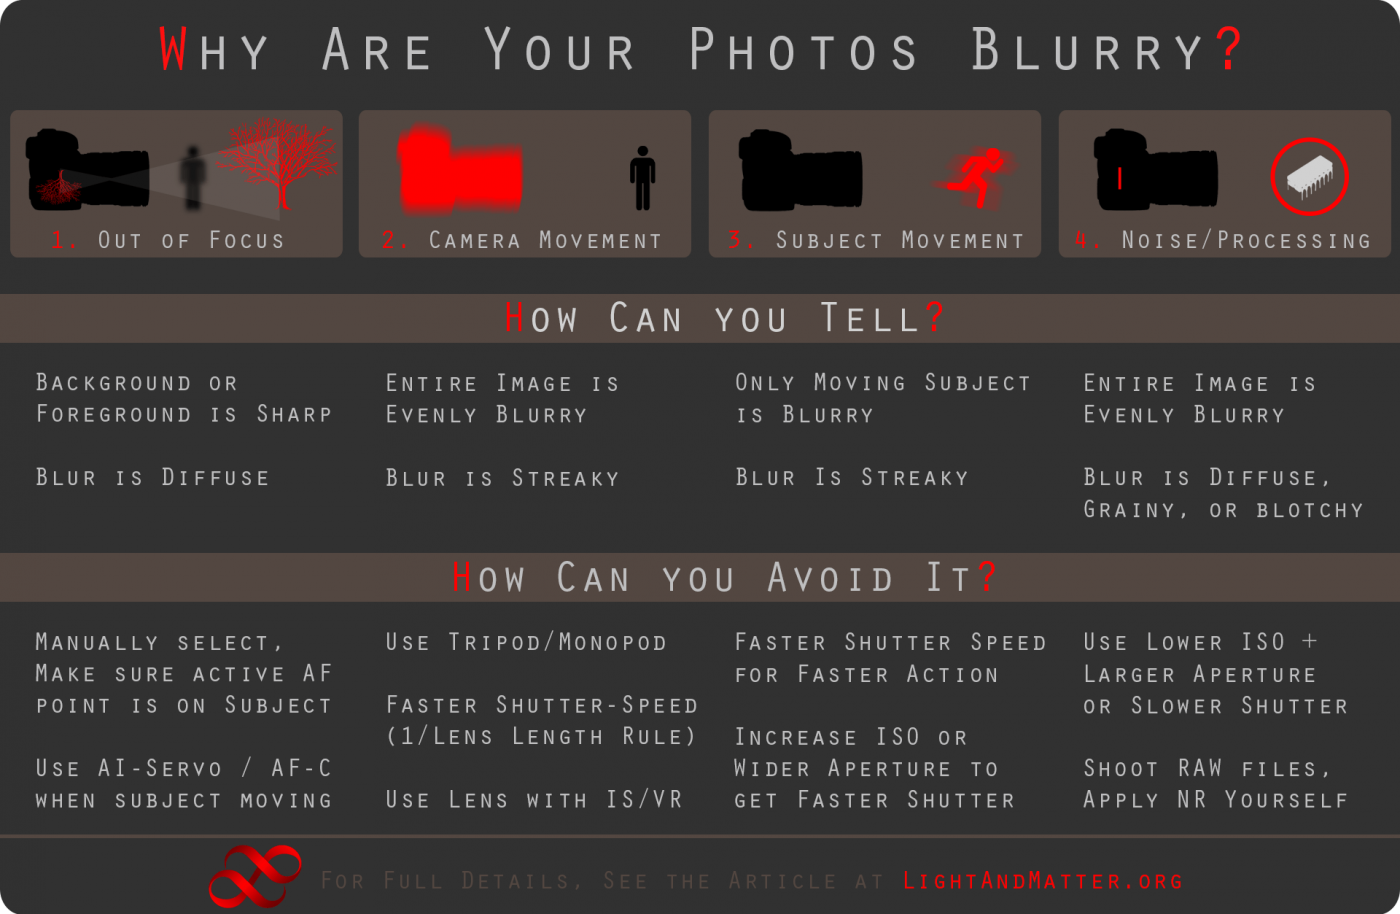
4. Noise/Processing
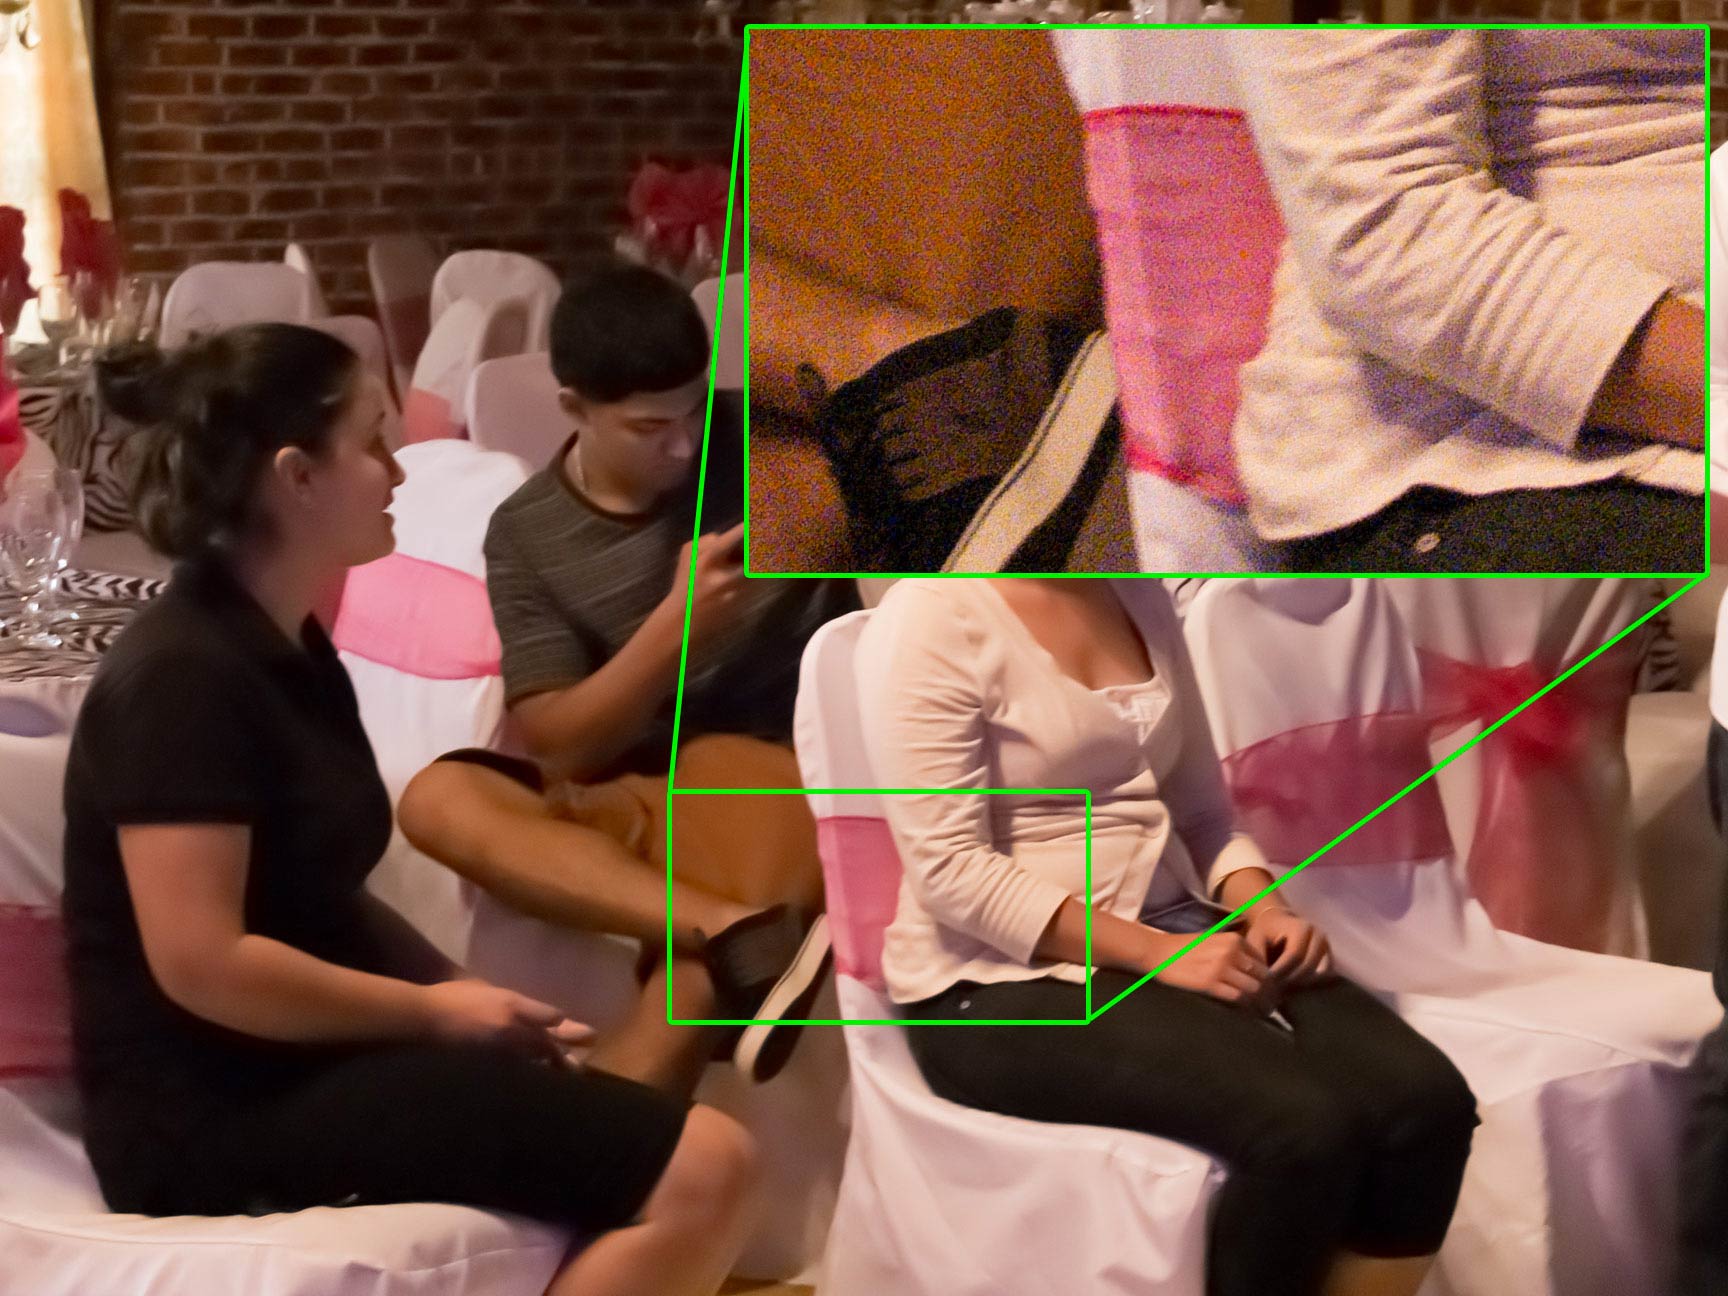
More and more commonly, blur is introduced to an image by a camera’s sensor and processing, especially if you use auto-ISO. If you shoot at high ISO (usually 1600 or higher 1 except on full-frame, professional level cameras]), your image will suffer from significant amounts of digital noise in the form of grainy texture and detail and blotchy colors. This noise alone can appear as blur, in some cases. More importantly though, if you shoot JPG files instead of RAW [4. if you own an SLR, you really should shoot RAW files all the time], your camera will also use “noise reduction” while processing the image, which applies a blur [5. among other things. In addition, noise reduction processing will detect patterns of noise in the image and systematically try to remove those patterns by replacing darker or brighter pixels with tones similar in brightness to surrounding pixels, which also reduces fine detail and edge sharpness. to the image to smooth out the graininess. The more noise there is, the more blur your camera will add, so images that are shot at very high ISO will frequently be very blurry in appearance, even if they were correctly focused and there was no movement.
How Can You Tell?
The easiest way, of course, is to look at the image metadata and see if it was shot at high ISO, or simply to be aware of your camera settings. If you don’t have access to the metadata, the blur that is produced by processing is distinctive, but hard to describe. The blur is “smudgy” and “blotchy”, sometimes with a “digital” look, including jagged artifacts.


How Can You Avoid It?
Ideally, you’d avoid it by using a lower ISO setting. To do this, you’ll need to either use a longer shutter speed or larger aperture, or both. Using longer shutter speeds, however, can cause camera shake or motion blur, so it is not always an option. Using a large aperture can be great, but large aperture lenses can be quite expensive: a Canon 35mm f/2 lens costs about $290, but a 35mm f/1.4L lens which can let in twice as much light costs over $1300. Both of these lenses are much much better than the kit zoom lenses that most beginners use, though, which have an f/5.6 aperture, which only lets in 1/8th the amount of light that an f/2 lens can. This is one of the major differences between amateur and professional quality lenses.
If using a slower shutter speed or larger aperture is not an option, you can always try flash, though that has its own limitations (distance, direction, color, etc).
At the very least, you should shoot RAW files (along with JPGs, if you’re not sure what to do with RAW yet). RAW files are not affected by in-camera noise-reduction processing, and you can (indeed, you must) add your own noise reduction later in Photoshop, Lightroom, or another processing program. Not only can you choose to use a lower amount of blurring, many programs can provide better results than the camera’s own processing, and as new software is developed in the future, you’ll be able to re-process your RAW files and improve your images.
PREV. PAGE NEXT PAGEExamples, Questions, and Comments
If you have blurry photos and still can’t figure out whey they’re blurry, feel free to post them here and get my opinion. If you don’t know how to post them in the comments, feel free to email them to me: matthew@lightandmatter.org , or you can post them in the forums.
I’ll do my best to answer any other questions that you have below.
PREV. PAGE
