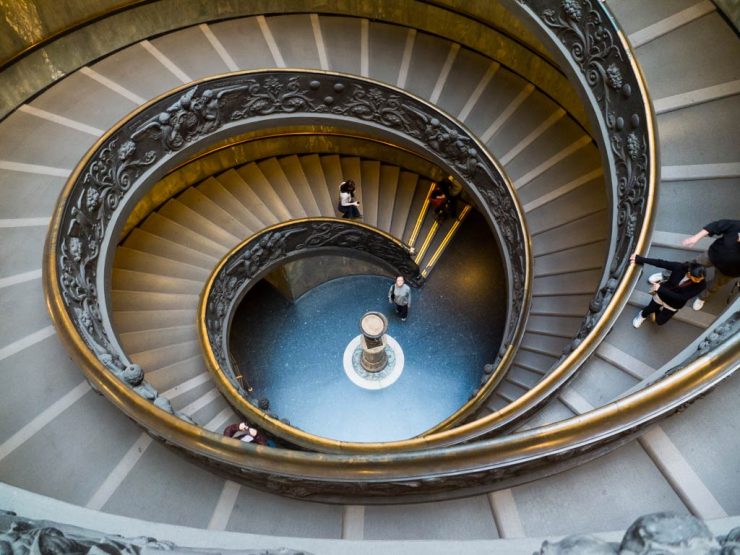
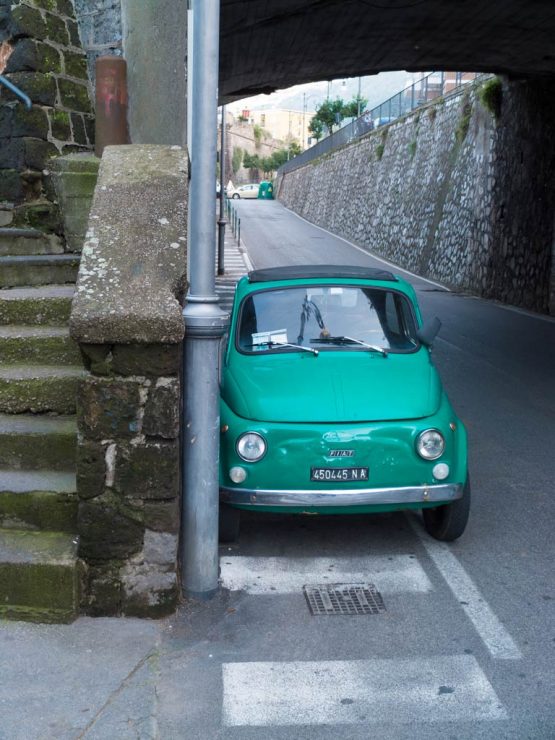
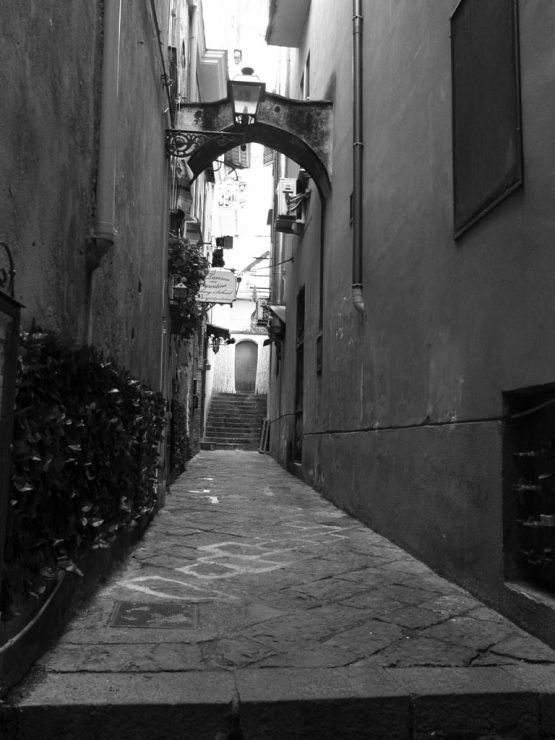
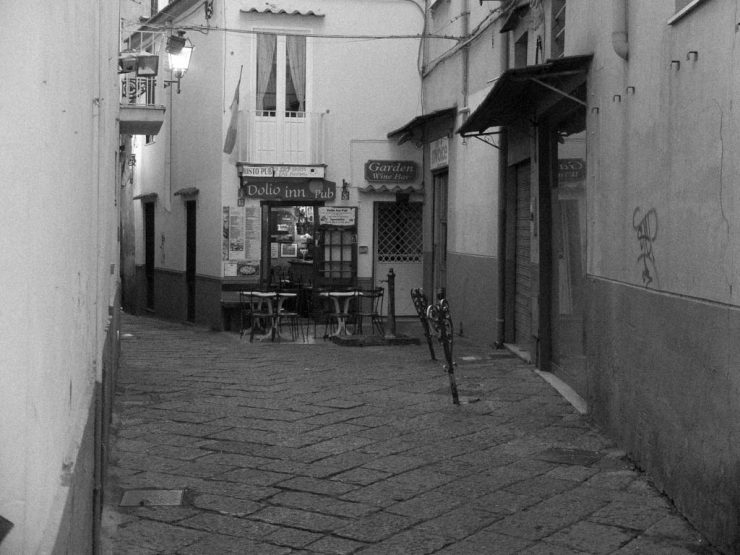
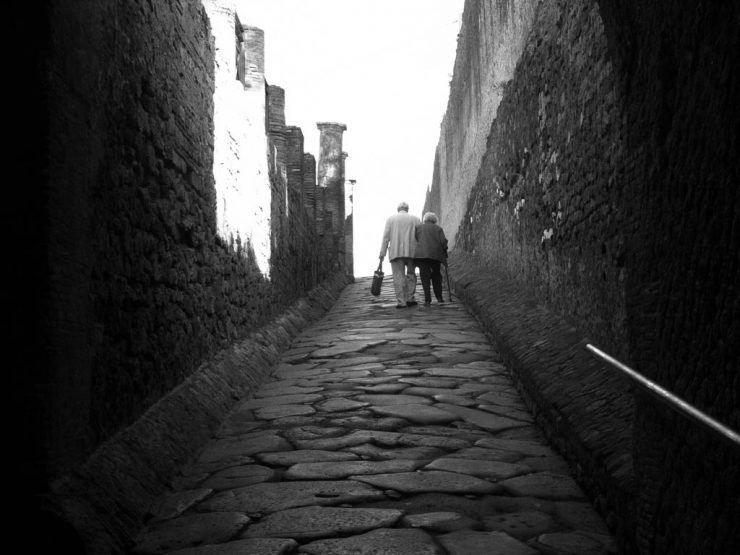
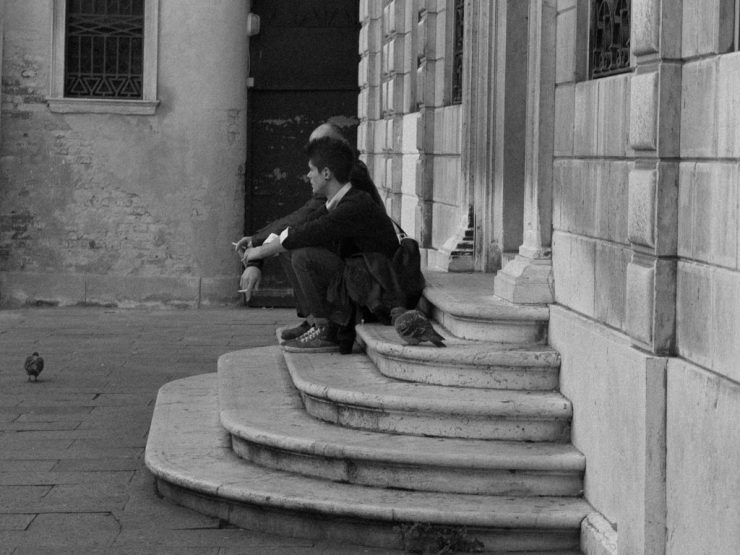
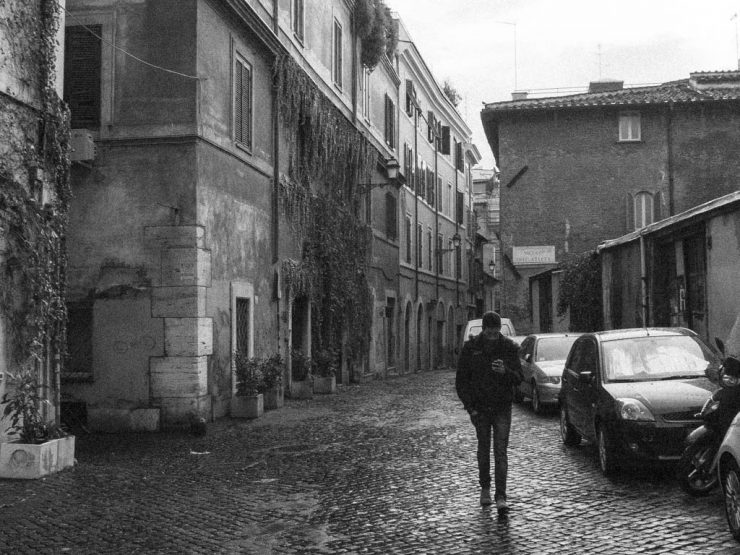
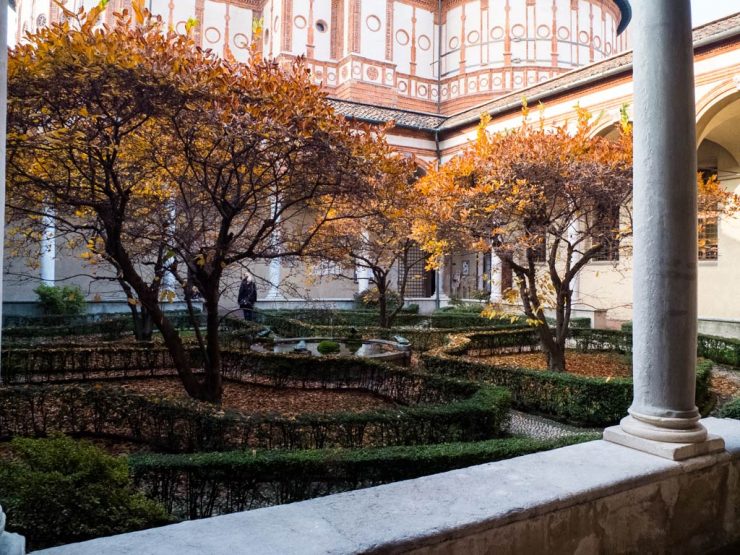
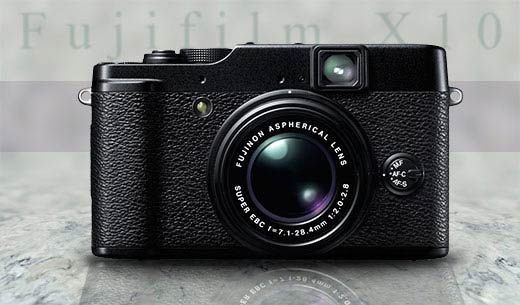
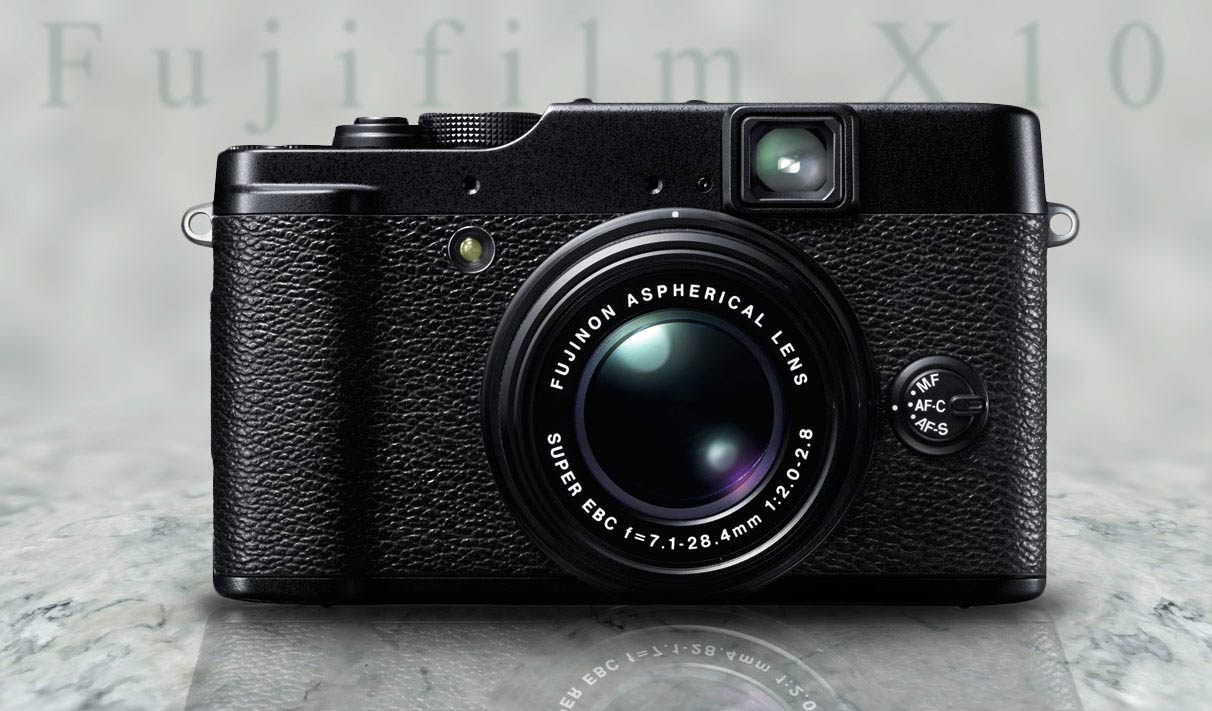
As a DSLR shooter, my expectations for any camera are usually quite high, but my yearning to have a “pocketable” camera that I can take with me everywhere and use as inspiration dictates tends to make my search for something affordable a daunting task. I never was a big fan of using an LCD for photography. I like viewfinders. At one point, the Canon G-series was my only logical choice, but the aperture on the long end of the zoom lens was too narrow for me to produce “bokehlicious” images that I like to take. I really didn’t wan’t to take snapshots. I needed something that would allow me to be as creative as with my Canon 5D gear, but in a much smaller package.
I had a short-lived lust affair with the Fujifilm X100 as a cheap alternative to a Leica M8/M9, but given its negative reviews as far as handling I was on the fence about spending $1200 on a camera that I may not be happy with. Luckily, Fuji decided to take pity on me and developed the X10. I’d been eyeing this camera for the past year when an excuse…er…”opportunity” presented itself that allowed me to get permission to buy it: we booked a two-week vacation to Italy.
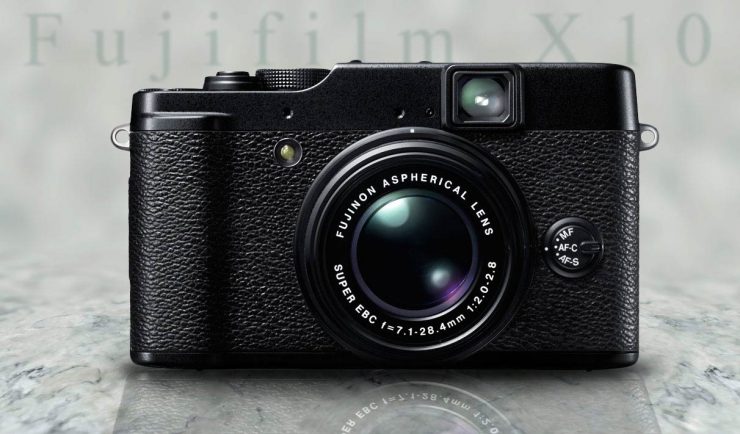
Looking at the major specs, you can see how sexy the X10 is (well, at least, to me):
With these specs, you’d wonder why you would pay a few thousands of dollars on an DSLR like the 5D or even the 7D. The answer is simple: flexibility. The X10 has comparable features to a DSLR, but they are not available all the time. The features of the 5D, for example, are available for any situation, and you can switch any of them in any combination. Luckily for the X10, there are two custom settings on the mode dial: C1 and C2. You can set up the camera to shoot bright scenes, for example, and save those setting to C1 or C2. Then reconfigure it for normal lighting and save it to the other one. Then all you have to do is switch between the two. You can still change setting, and quite rapidly too with the quick menu button (usually it’s the button labeled “RAW”; more on this later).
The X10 was released about a year ago and I’ve had my copy for almost two months now. My first impression of the camera is that it is solidly built and it looks and feels like a “professional camera”. In fact, support for the X10 is via Fujifilm’s “pro line” support. Even though it’s deemed “professional”, you’ll be hard pressed with some of its drawbacks. You’ll either love this camera or hate it.
Drawbacks
I decided to start with the drawbacks to get these out of the way, since there seems to be more benefits than drawbacks. What follows are the major ones.
Viewfinder
Unless you’re really old school, this will be your greatest frustration. The viewfinder is strictly used for quick composition. There is no information displayed in the viewfinder. The only thing you see is your scene. It gets worse. The viewfinder only displays about 85% of the scene. Add to that the fact that at wide angles, the lens partially blocks the view in the lower right corner and you’ll experience parallax at close ranges. The good news is that the more you use it, the better you can “predict” your composition. You will have a tendency to center your subjects, but the closer you are to them the more towards the lower right you must place them. Slightly, though. Luckily, you can use the LCD as a viewfinder, but being a DSLR shooter, I hate using live view other than when I’m shooting video. Using live view just slows me down. Plus it looks more conspicuous that moving the camera up to your eye for composition. So if you’re like me, this will be your biggest hurdle.
Auto Shutter Speed
I like shooting in Aperture Priority mode which allows the camera to choose the appropriate shutter speed to get the correct exposure. The X10 has a few “rules” for the auto selection of shutter speeds:
- 1/1000 sec max for apertures between 2.0-4.0
- 1/4000 sec max for apertures smaller than 4.0
To me, this is counterintuitive. You would expect to be able to increase the shutter speed for large apertures when in bright scenes, but because of these “shutter rules”, portraits where the subject is obviously separated from the background is not entirely possible in bright scenes. I say “not entirely” because you can use a few techniques to achieve shallow DOF, primarily using the long end of the zoom at close range as with the following image.

With this in mind, for bright scenes I set the camera to “P” mode and Auto ISO (1600) and let the camera choose the aperture and shutter speed. I trust that the X10 will select the widest aperture/fastest shutter combination, but I don’t expect it to always give me ideal settings like for the picture above. On the Canon 5D with, say, the EF 50mm f/1.8, I have been able to set the aperture to f/2.8 and shutter to faster than 1/4000 which gives me portrait creativity in bright scenes. Score 1 for the Canon 5D.
DOF
Though Fuji touts that the X10 has a “large” sensor (2/3″), it’s not as large as an APS-C sensor. This presents a challenge when taking portraits that need a significantly shallow depth of field. Because of this, the X10 has an “Advance Mode” setting. This mode give you Panorama, Pro Focus and Pro Low-Light. Pro Focus takes up to three frames softening the background and then combining them for the final output. The amount of softening is set with the main/sub-command dial (either one of the two dial on the back of the camera). I find that I get the same DOF by simply using the long end of the telephoto and opening the aperture to f/2.8, as depicted with the seagull picture above.
Auto-Exposure Lock
This is a subject of controversy and it’s probably a non-issue. At times, the X10 fails to lock exposure. I would need to use the exposure compensation dial to “help” it lock. This is mostly observed in low-light situations where there are individual points of light in the scene. It doesn’t happen all the time. I guess it depends on how much brighter the points of lights are compared to the other lights. I’ve tried setting the camera to matrix and average metering and I get the same results. This next photo required the dial to be set at -2/3.
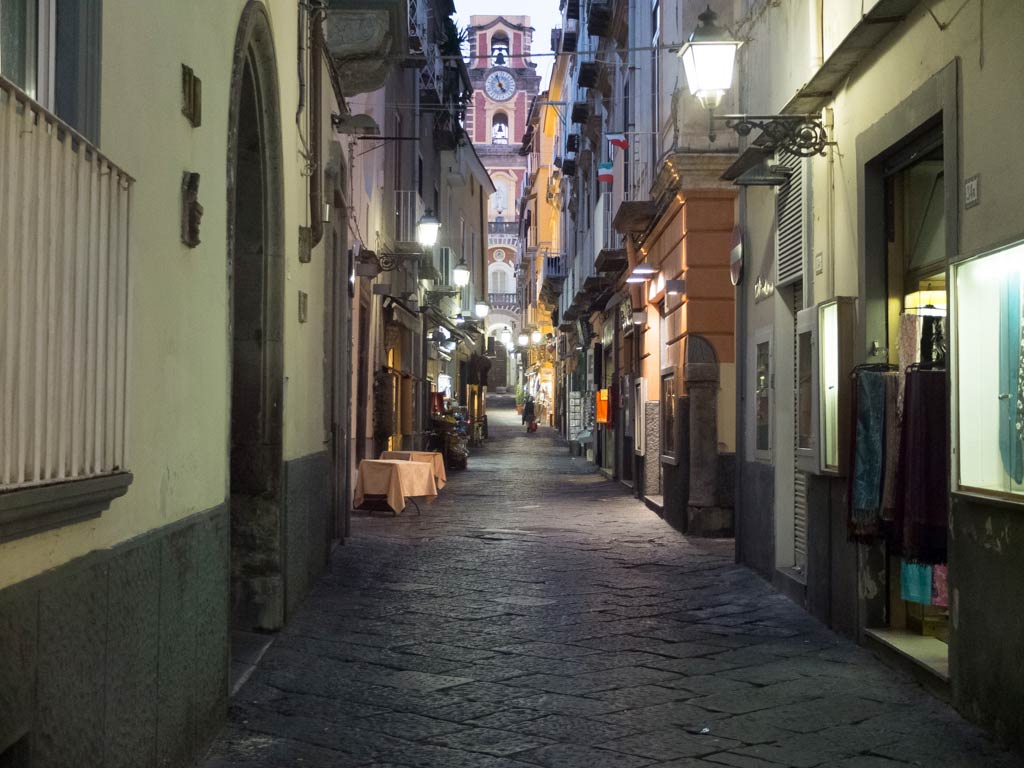
The X10 allows you to take the shot even if it thinks the exposure (or the focus) is incorrect. This is counter to most (if not all) point-n-shoots, which is a good thing, and something that DSLRs allow you to do as well. As you can see from the shot, the image is slightly out of focus, but I think this is because the X10 didn’t fully lock focus as well. This was due to my setting the camera to “silent mode” (something like a “spy mode”) which prevents the camera from using the focus assist beam, so it’s truly inconspicuous. Well, except in my case, since I’m not exactly a small guy.
RAW vs JPEG
X10 shooters tout the JPEG engine’s ability to render excellent images from the RAW files. Most X10 owners shoot strictly in JPEG mode because they find no reason to edit the images further, and due to the fact that there is no suitable RAW converter for Fuji’s RAF files. Fuji decided to release the SilkyPix RAW converter with the camera, but unfortunately, the application is really not up to par with the likes of the Adobe Camera RAW (ACR) converter, Lightroom, or even PhaseOne’s Capture One software. These major applications have recently added support for RAF files, though it seems that each Fuji camera (X10, X100, X-E1 and X-Pro1) produces slightly different RAF files. Adding to that, the X10 creates different variants of the RAF file depending on the image quality mode you set. Consequently, these applications state that RAF files are not “fully supported”, yet, they achieve better results than SilkyPix or the in-camera RAW converter. All of the sample images on the Fuji site were taken in JPEG mode using one of the many filters the X10 has. The images, I have to admit, are quite impressive.
The X10 sensor uses a proprietary pixel array, different from the standard Bayer filter array that most digital cameras have (including the Canon 5D) called EXR CMOS (bespoke) pixel array. Supposedly, this provides higher resolution, greater dynamic range, and better low-light images. However, this is dependent on the EXR processor and how it “configures” itself when it either detects a scene (EXR Auto Mode) or when you select one of the EXR Modes (Resolution priority, High ISO/Low Noise priority, or Dynamic Range priority). EXR mode only produces medium sized JPEGs (6MP). At first, I was concerned that I would not get great images unless I used the EXR processor, but through experimentation and post-processing with Lightroom/ACR, I find that I can yield results of equal or better quality.
When I bring the RAF files into Lightroom, I can see “noise” which I just call “artifacts”. I think this is due to the X10’s sensor pixel array. I don’t believe this is noise, per se (especially in the well lit images), but more a matter of how ACR/LR interprets the RAF file. ACR/LR cleans it up nicely so there is no concern there. Even images at ISO 3200 clean up well. This is not to say there is no discernible noise; there is, in images that we’d expect to have it.
Pros
- Full manual control
- No shutter lag
- Custom settings on mode dial (C1, C2)
- Separate AE/AF lock button
- Programmable Fn button and RAW button (see below)
- Standard hot shoe mount
- Mechanical shutter button with thread for cable release
- Fast auto focus
- Mechanical zoom ring on the lens
- ISO 100-12800 (ISO 6400 in Medium and Small size files, ISO 12800 in Small size files)
- Auto ISO mode (ISO 400, 800, 1600 and 3200)
- Macro to 1 cm
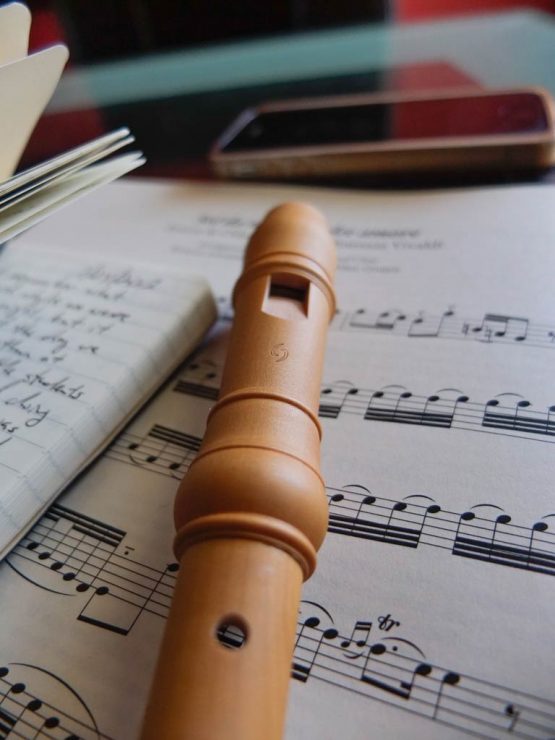
The X10 has a button labeled “RAW”. Prior to firmware 2.0, this button set the camera to shoot RAW on the next shot if the camera was set to shoot JPEG only, and when pressed in playback mode, it display a RAW conversion menu that gives several options for converting the RAW file into a JPEG. For the 2,0 version of the firmware, it acts as a quick menu button in shooting mode, displaying the most common options.
One of the features that I am truly impressed with is its macro ability. There are two settings: Macro and Super Macro. Macro will allow you to get quite close to a subject while Super Macro will get you upto 1 cm away. The images in macro mode are as detailed as expected from a macro lens. Shooting macro is only available using the 28mm end of the lens and using the LCD for composition. This makes sense since the subjects are too close to be viewed and composed accurately with the optical viewfinder.
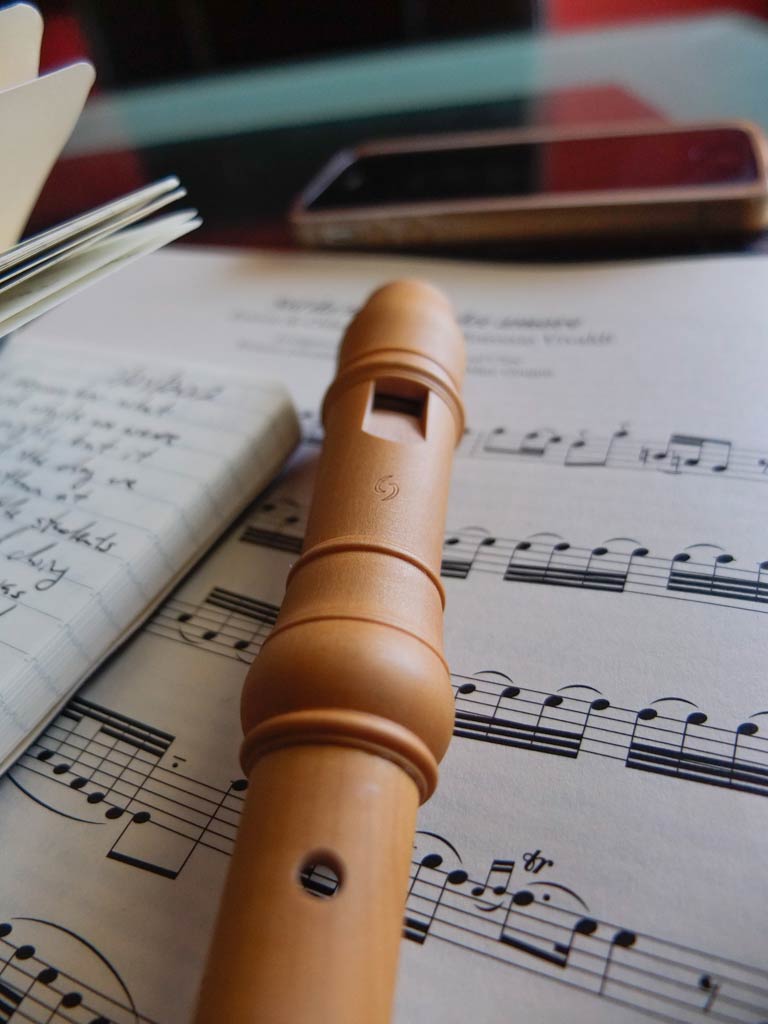
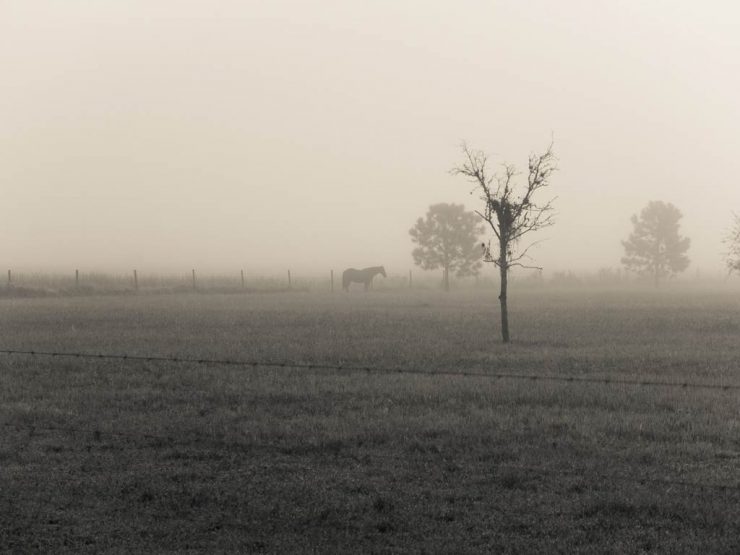
The X10 is enjoyable to use once you get over the hurdles. It is not a camera that yields to your every whim. It is a camera that fits in a symbiotic relationship with the photographer; at times you have to yield to how the X10 wants to handle a scene. In a sense, you have think of it as a “more capable” point-n-shoot. However, there is something about the images that the X10 produces that keeps them well outside the realm of “snapshots”. The images are vivid with nice contrast, and because the camera shoots RAW files, they can be further enhanced to rival images from a DSLR.
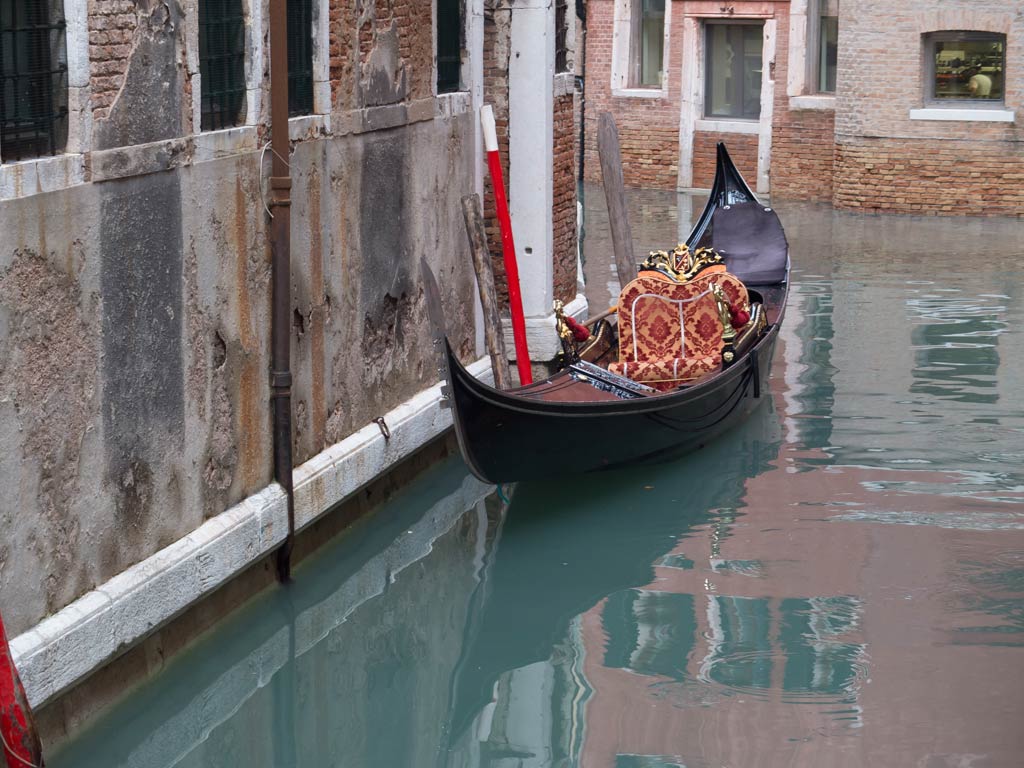
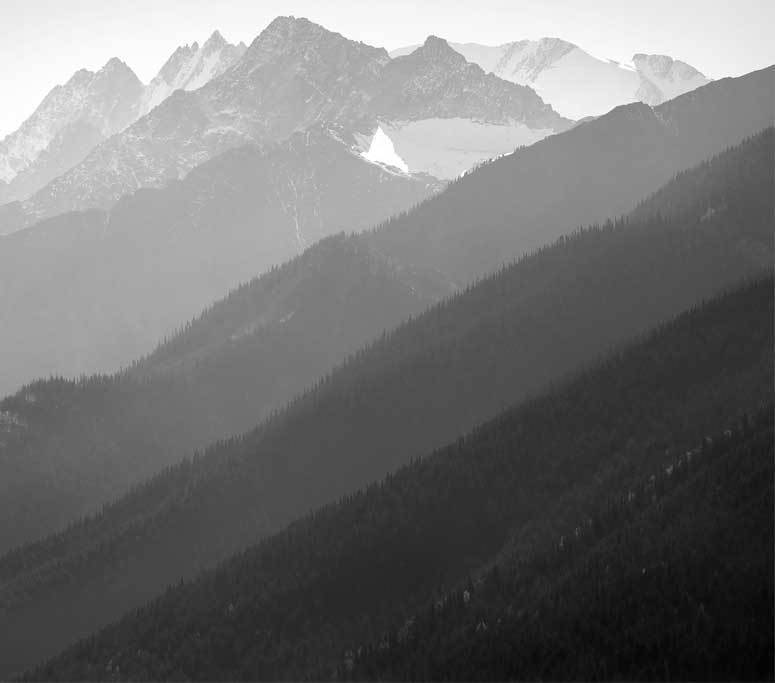
This shot is straight out of the camera. Even with neutral settings, the colors are quite vivid and “contrasty”.
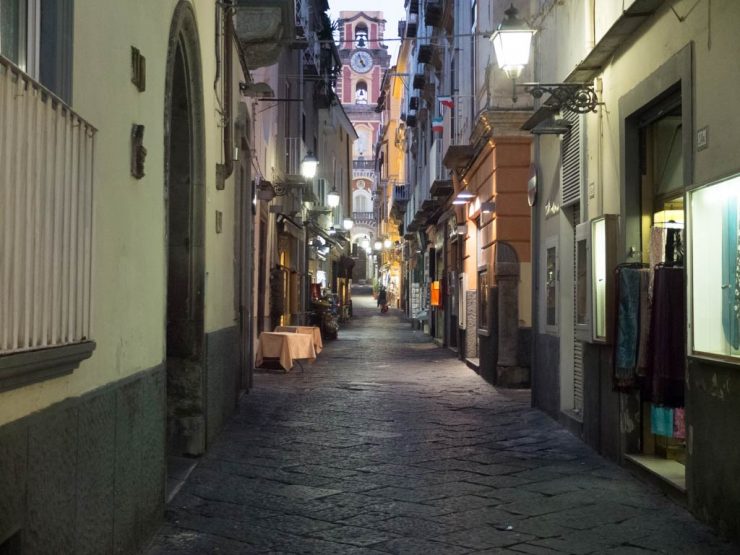
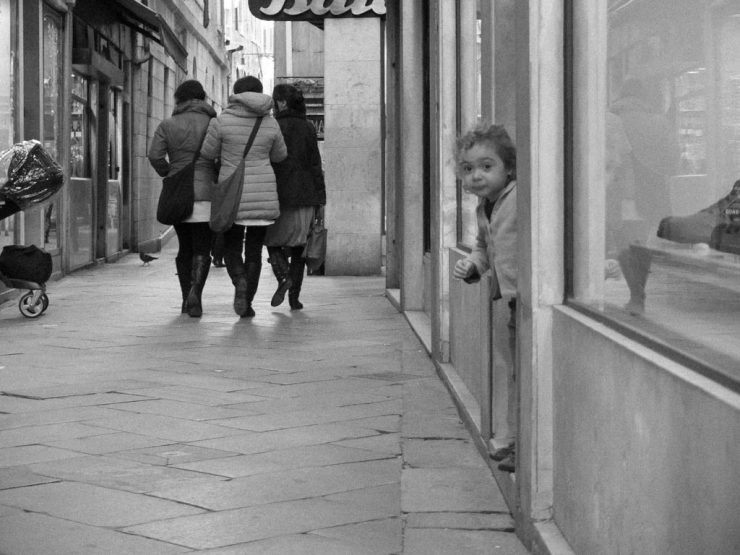
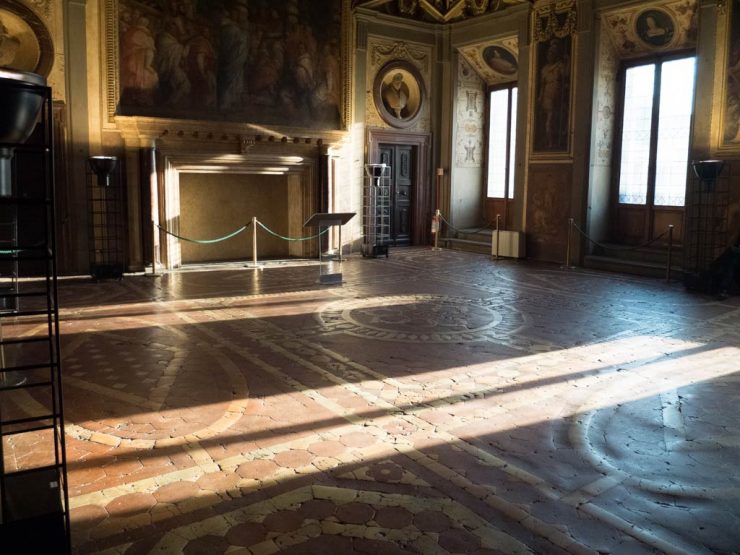
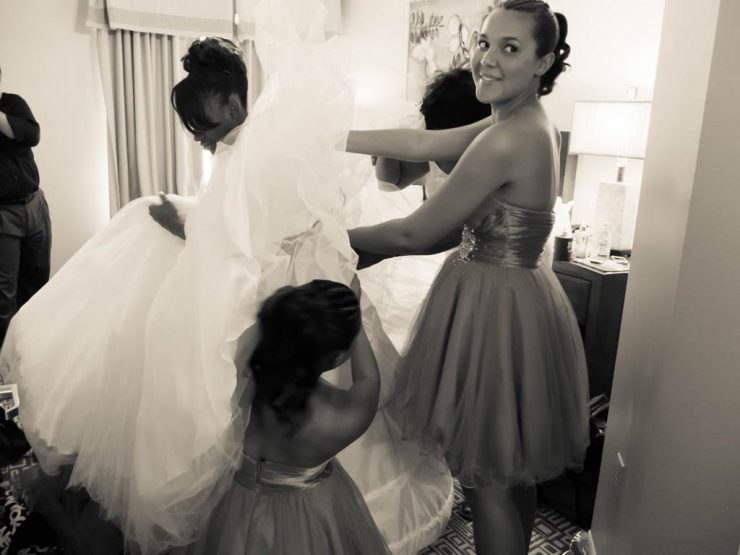
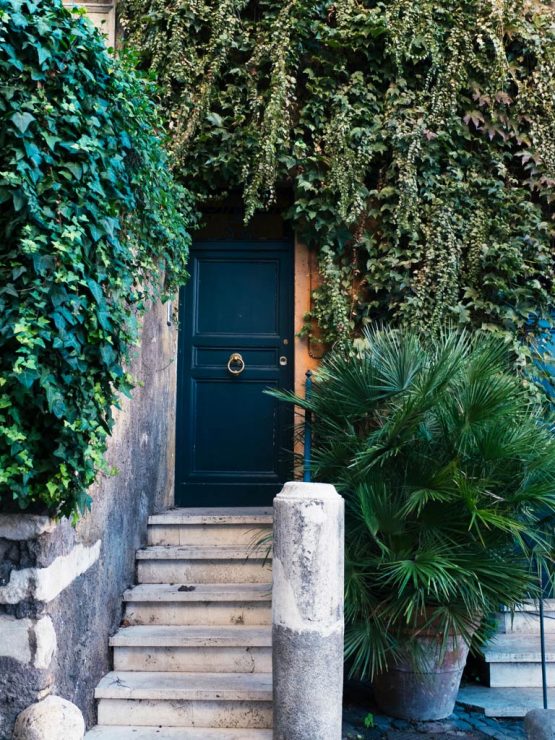
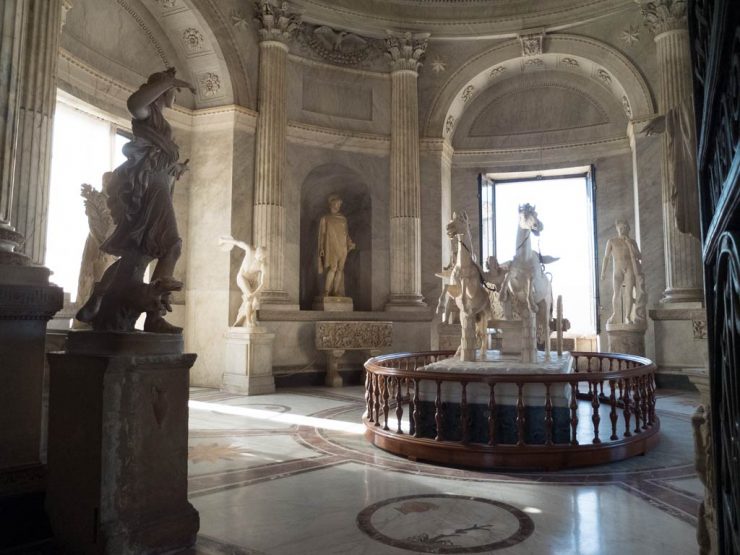
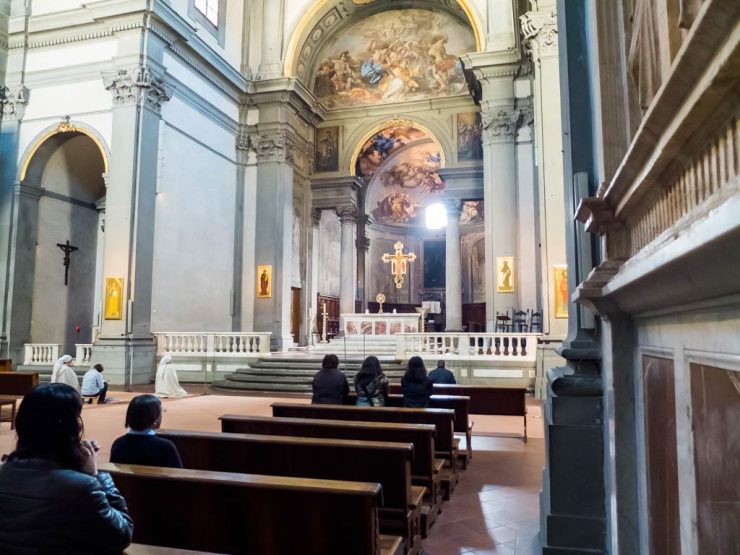
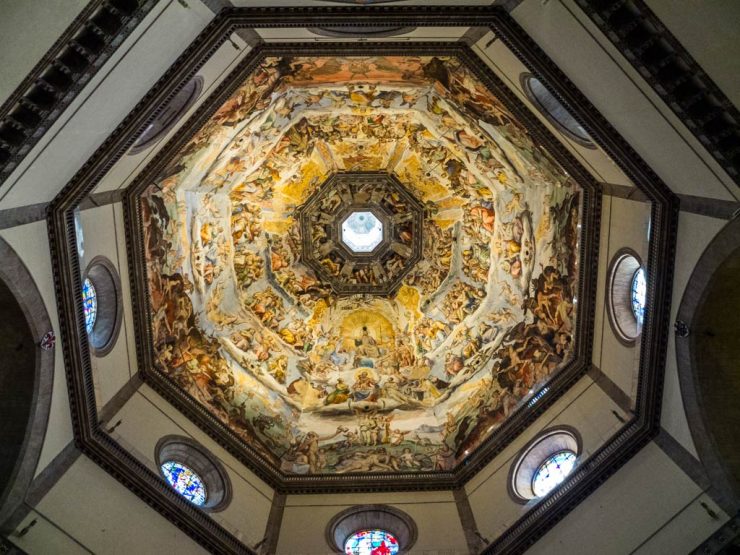
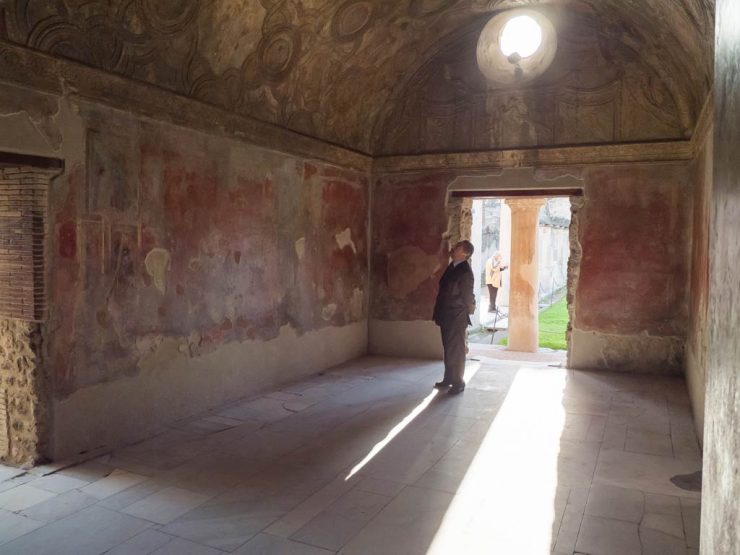
The X10 is also quick to respond and can be very silent. I rarely missed an opportunity during my last wedding-shoot or my trip to Italy (see “Girl In A Shop” below). The X10’s ideal conditions are scenes with diffused lighting, but, with care, it works very well with bright or mixed lighting scenes. In Auto Dynamic Range (Auto DR) mode, when the X10 detects bright scenes or mix lighting, it reduces the contrast in an attempt to prevent blown highlights. This has the effect of producing images that are warm and richly colored without looking saturated (see “Museo di Palazzo Vecchio” and “Portrait at Palazzo Vecchio” below). In the DSLR world, the camera makes a decision whether to preserve the highlights or preserve the details in the shadows. So to get greater dynamic range, DSLRs can be set to take multiple exposures with different exposure compensation (bracketed exposures) that can be combined to produce an High Dynamic Range (HDR) image. This is not to say that the images out of the X10 can be considered HDR, but it can handle a little more dynamic range than the norm.
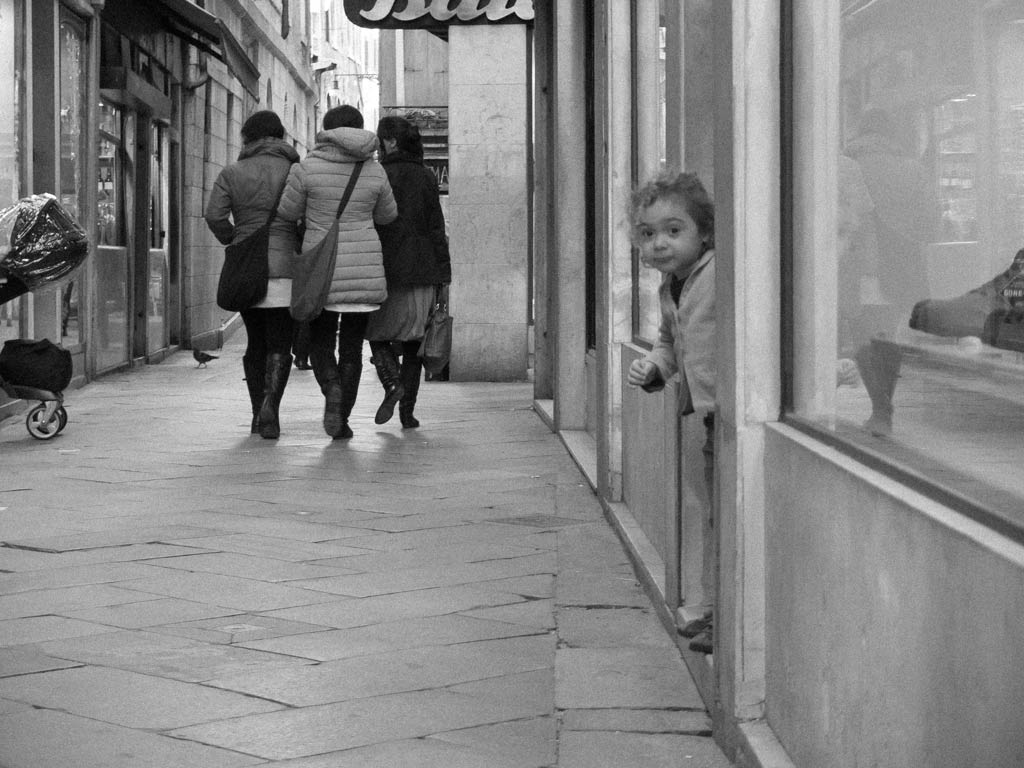
This little girl was trying to get my attention while I waited for Carline to finish her “browsing” at the next door shop.
Venice, Italy – 2012
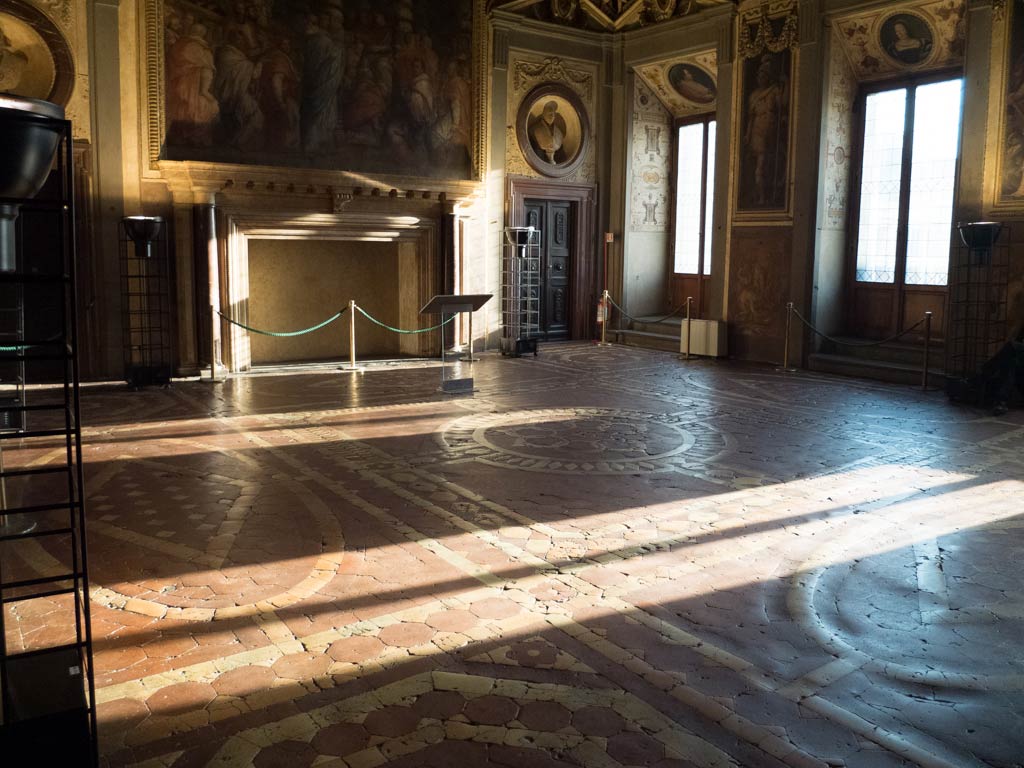
One of the many salons at Palazzo Vecchio
Florence, Italy – 2012
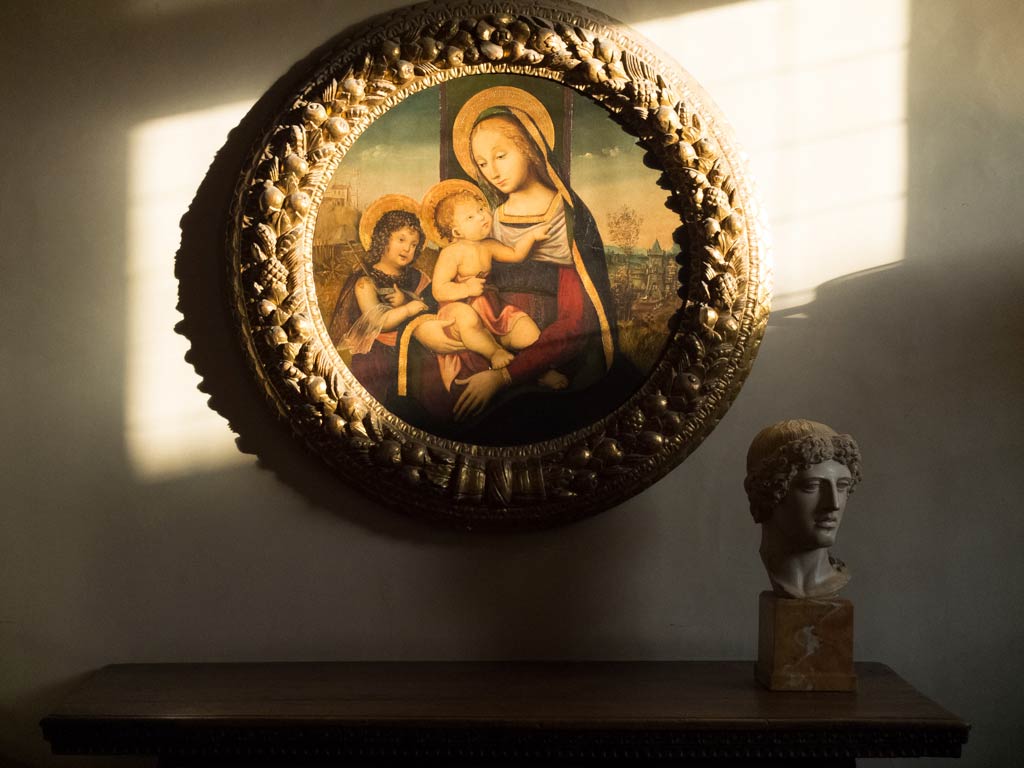
One of many pieces of art at Palazzo Vecchio.
Florence, Italy – 2012
As an all-around camera, the X10 performs very well. Most photographers report that they won’t use the X10 professionally, but I think it is a very capable camera; one that I will use for client work. I do have to admit that it may not be able to handle all situations, but situations where there is a high degree of control and predictability, there is no reason not to consider this camera as your first choice. I haven’t ventured using the X10 for portraiture, but I suspect I won’t be disappointed. Photographer Jacek Heliasz has a few photoshoot videos on YouTube in which he uses the X10 as well as the X100 as his primary cameras. All in all, I carry the X10 with me everywhere I go now, and it has brought me inspiration and has allowed me to express myself with the capture of the moment.

