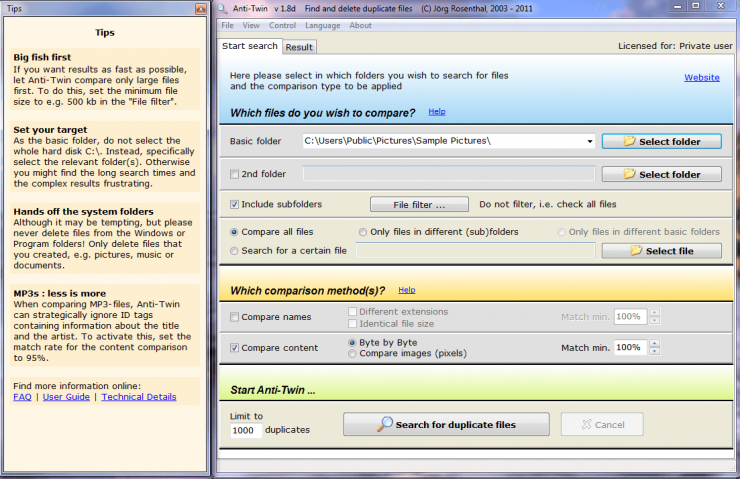
Get started by running Anti-Twin, where you’ll be presented with the main application window and a ‘Tips’ window.
The easiest way to locate similar photos with Anti-Twin is to:
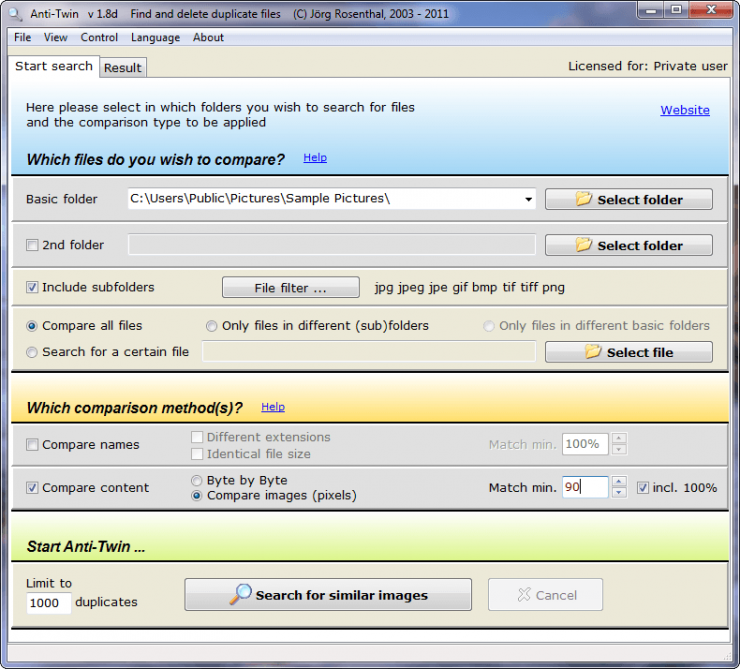
- Select a folder of photos to compare
- Set the comparison method to ‘Compare content’ – ‘Compare images (pixels)’
- Click Search
In the screenshot above Anti-Twin was set to search ‘C:\Users\Public\Pictures\Sample Pictures\’ for images where 90% of the pixels matched.
Prior to running the search, I manually made a copy of one of the photos in the Sample Pictures folder and sized it down to simulate something someone might to before emailing a photo. With only 9 images in the folder, the search happened within a second or so.
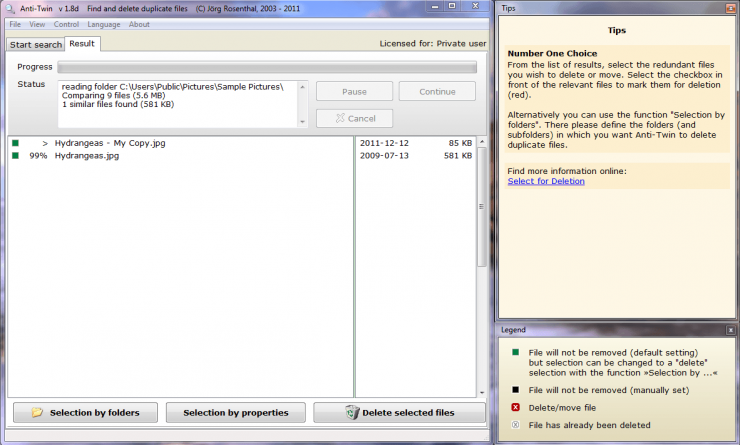
After the search, Anti-Twin will display the 3 windows below. Initially, all images are marked as ‘File will not be removed’. Here, you have the chance to review the images and decide what, if anything, gets deleted.
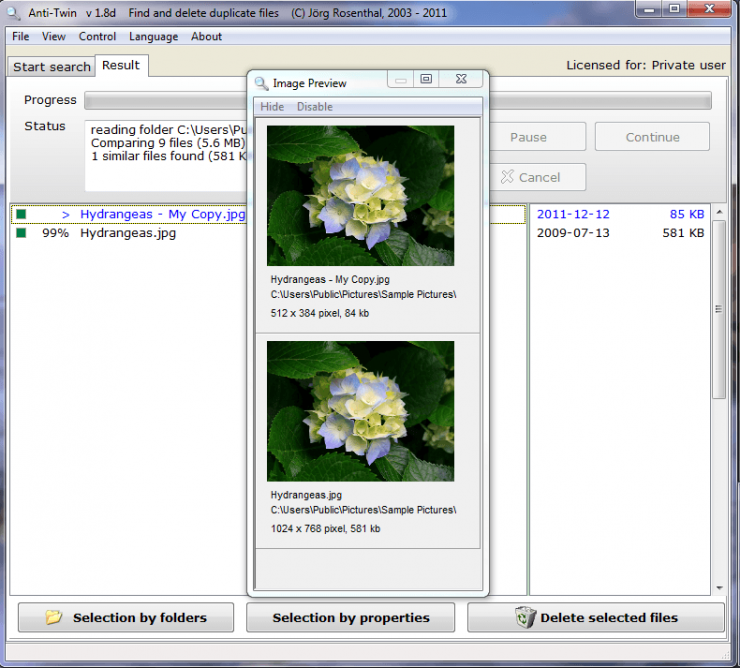
Clicking any one of the search results will open an ‘Image Preview’ window displaying all of the potential duplicates that match the one you clicked, along with the resolution and size of each image. This is simply to verify that the images truly are duplicates (or very similar). No action can be taken on the pop-up window.
Individual files can be marked for deletion by clicking the green square next to them. Marking files one at a time would be fine for a handful of images, but if more possible duplicates were found, that method would be painfully inefficient. Luckily, Anti-Twin has a better way.
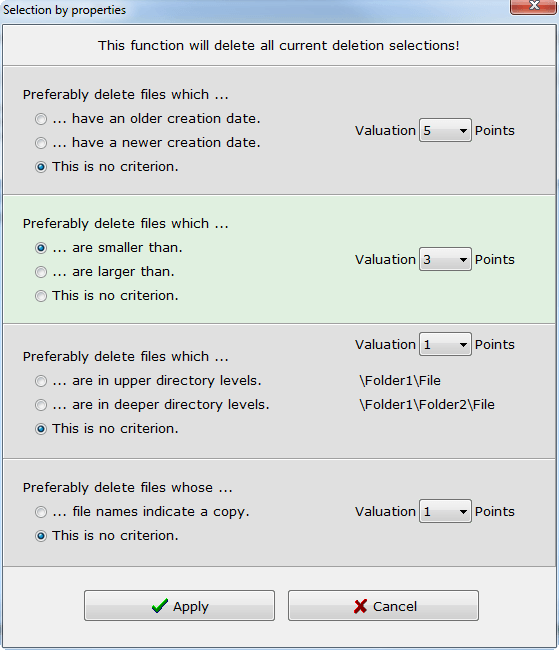
Given that I’m searching for duplicates within the same folder, ‘Selection by folders’ wouldn’t really apply. What will work well here is ‘Selection by properties’.
In the ‘Selection by properties’ window, you select criteria that will determine which images get marked for deletion. In the screenshot, I’ve only included one set of criteria; to delete lower resolution (smaller) images.
After clicking Apply, I’m returned to the main window where the smaller (85k) photo is marked for deletion and the larger (581k) one isn’t. If I want to delete all marked files, all I have to do is click ‘Delete selected files’.

