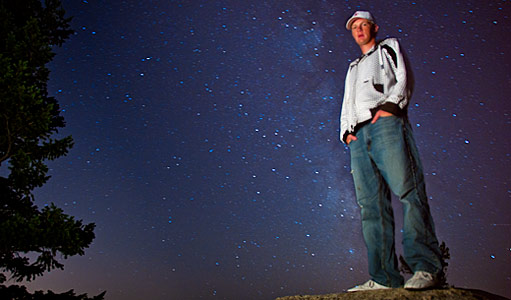
As I was looking through some photos from last September, I ran across a very simple example of how using colored gels on your flash can be used to control the ambient light color, and thought that some of you might find it useful.
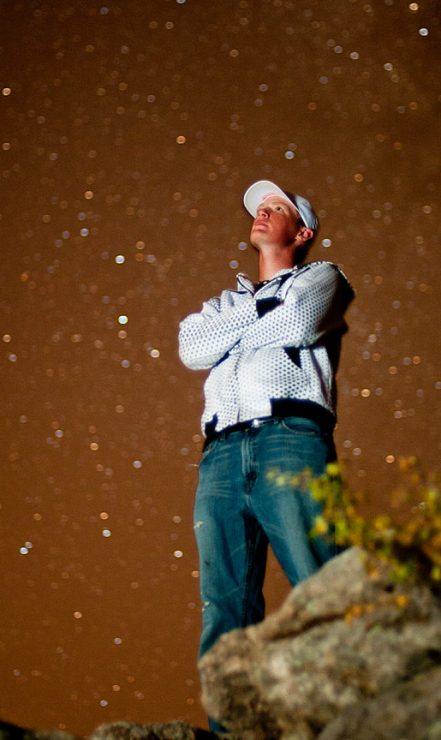
I was in Colorado at the time, taking some experimental night portraits against a starry sky, perhaps 10 miles into the foothills to the west of Boulder. The night sky was clear, creating a beautiful backdrop of stars. I began by mounting my camera on a tripod and exposing for the night sky, which ended up being around 25 seconds with a Nikkor 50mm f1.4 lens… not ideal in terms of digital noise, but workable. With the exposure set for the background, I used a shoot-through umbrella and Sunpak 622 flash (radio triggered) to light the subject. A second flash should have been used to the camera-right or behind the subject, but I was having difficulty with the second radio trigger and it wouldn’t fire, so I tried to make due with a single light.
When I took a look at my first test shots with the white balance set for flash, I realized that I had a problem. The city lights from nearby Boulder and Denver had conspired to turn the sky a muddy brown instead of the black or blue that I’d have preferred.
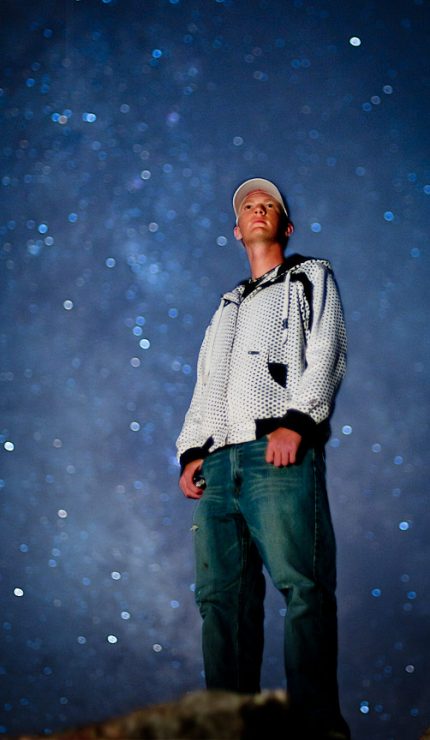
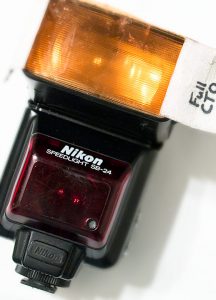
The fix? I quickly added a CTO (tungsten balance, which is orange) gel over my flash head. Now that the subject was being lit with warm, orange-yellow light, I reset the camera’s white balance to cool the light from the flash back down to neutral, which in turn, cooled the orange-brown sky down into the blue range where I wanted it. Problem solved. No Photoshop necessary.
In the end, I wasn’t particularly happy with any of the photos that we got that night, partially due to the lighting problems, but partially because of constant problems caused by attempting to focus in no light. We returned another night and ended up with better shots, but these test shots make a better example!
Gels?
If you’re not familiar with gels, they are simply colored plastic filters made of something like cellophane. At many photography stores, you can buy gels from a roll by the foot or by the yard for a few dollars, or you can buy them by the sheet. You can also buy them in packs made specifically for small flashes with a variety of different mounting systems, such as these. Traditionally, photographers have simply used velcro or rubber-bands.

