Sharpening Photos in Adobe Photoshop CS4 : Part Two

sharpening-banner

Application and Techniques

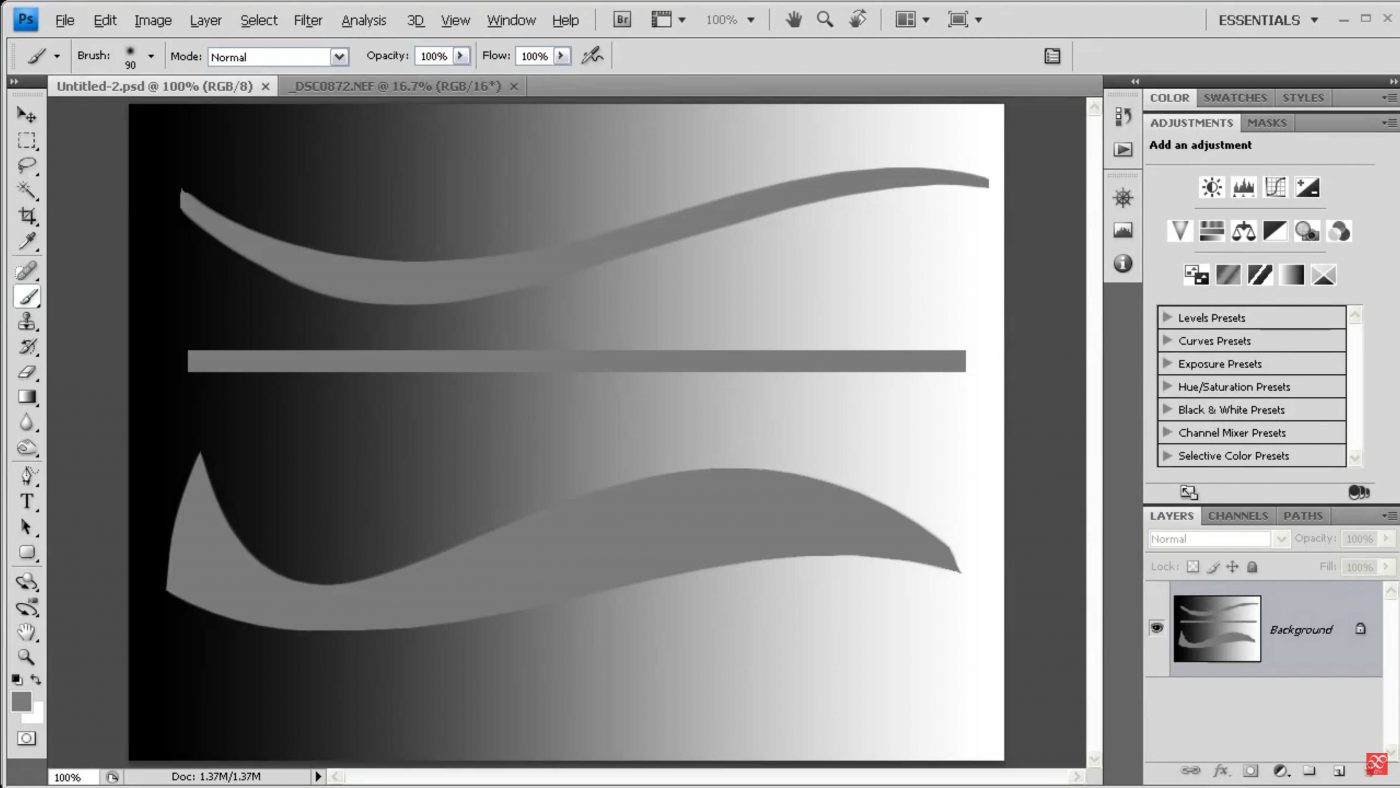
Rather than attempting to type everything out, I’ve created a video tutorial which I hope will be more helpful. For this subject, I strongly recommend watching a high definition copy, which you can download here in mp4 format. If you have any trouble playing the video, I recommend downloading Media Player Classic (a free, lightweight but fully featured player) to play it.

Editor-in-Chief
  1. Thanks Matt — very helpful! That fits with what my own limited investigation seemed to show (I tried exporting the same photo with and without develop-sharpening, and with and without output-sharpening, and the output-sharpening did seem to add, rather than replace. I was just looking at it on a monitor, though, and to be honest I had to zoom in and out and look at the different versions for a while to see the differences. They were *very* minimal. (I was using “sharpen for screen – standard” as the output setting.)

  2. Mike,

    Sharpening in the Develop module is separate from Output sharpening. The develop module, as you probably know, is just the Adobe Camera Raw engine ported onto a different program, so the sharpening there is essentially ACR sharpening before the creation of your full resolution “working file”. Essentially, this is the sharpening that would take place in your camera if you weren’t shooting RAW, and it applies to the full size image.

    Output sharpening applies after the image has been rendered and re-sized from the ACR settings for output, so output sharpening will ADD, not replace. For print, there’s probably a slightly larger radius and definitely a larger amount, though I don’t know the specifics.

    There are a lot of different opinions about sharpening and when it should be used, so I can’t give you a definitive answer, but generally speaking:

    • If you are resizing your image for output, then output sharpening is a good idea. Down-sampling an image from the RAW file does reduce the sharpness slightly, so output sharpening would be the place to get that back.
    • If you’re printing, then use output sharpening for print, especially if you’re going to an inkjet. The image would be too sharp on a monitor, but will look good in print.

    That said, a lot of people don’t use the output sharpening in Lightroom at all because they think it over-sharpens. I don’t use it because I don’t use Lightroom for anything important… I do all my real work in Photoshop. :)

  3. Thanks Matt!

    In lightroom, there is the ability to sharpen in the Develop module, but then also there’s a prompt for “output sharpening” when you go to export the images as jpgs. (From your video, I’m guessing that the “sharpen for web” output option uses a smaller radius than if you select “sharpen for print”.)

    Am I correct in assuming that if I do my sharpening in the Develop module, choose my amount, radius, etc., then I should NOT choose the extra output sharpening? What happens if I do select output sharpening? Does it (a) ADD to the sharpening I’ve already done, or (b) REPLACE the sharpening I’ve already done?

    For instance, let’s say I have chosen amount 100 and radius 2.0 in the Develop module. Let’s also say (for the sake of illustration) that Lightroom’s “sharpen for print, standard” is amount 90 and radius 1.5. Does this mean that I will end up “sharpening the already-sharpened image” (resulting in MORE sharpening than I want) when I export, or will it apply its own settings (which in my example are less than mine, resulting in LESS sharpening than I want)?

Your email address will not be published. Required fields are marked *