Softboxes are one of the mainstays of the modern studio, and as we all know, the bigger the better. Like so many other things in the photographic realm, though, the prices of softboxes seem increase exponentially with every added inch. The prices of softboxes are absurd. Let’s face it: they’re just little black and white tents. If I were trusting my life to its structural integrity on the side of K2, then perhaps I’d understand paying over $650 for a 5 foot wide dome. But the only thing that’s going to blow against the side of my softbox is the cooling fan from my monolight; the cloth doesn’t need to be waterproof or breathable, or even particularly light. We’re not looking at new and innovative technology, either. So why so expensive?
Enter the cheap, Ebay softbox. When I purchased my monolights, they came in a kit which included light stands and 60×90 cm softboxes. I don’t see these exact boxes offered by the vendor separately, but similar (slightly larger) softboxes are available for about $55 (including cloth grids). But are they worth it, or are they just more Ebay Junk?
Let me begin by saying that since my softboxes are kit items, they may not be the same quality as those sold separately (although I don’t have any reason to believe that there is a difference). I did contact the owner of the Ebay store about testing some of their others, but unfortunately, received no response, so if you’d like to see more and better reviews here, go ahead and email OECCamera and let him know that it would be in his best interest to have some independent reviews of his products.
Hands On
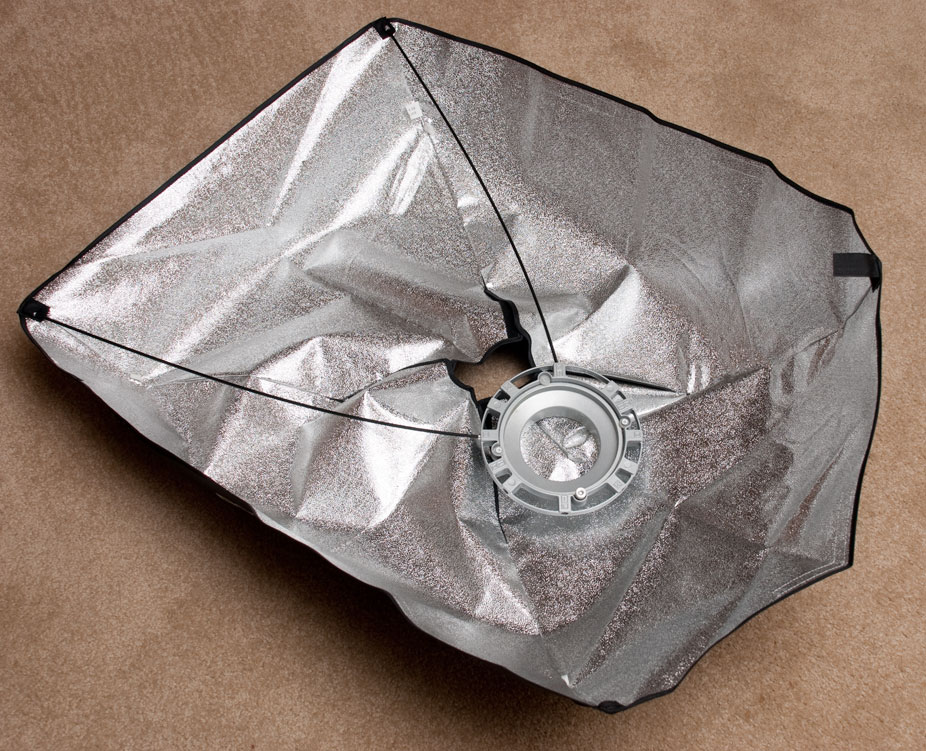
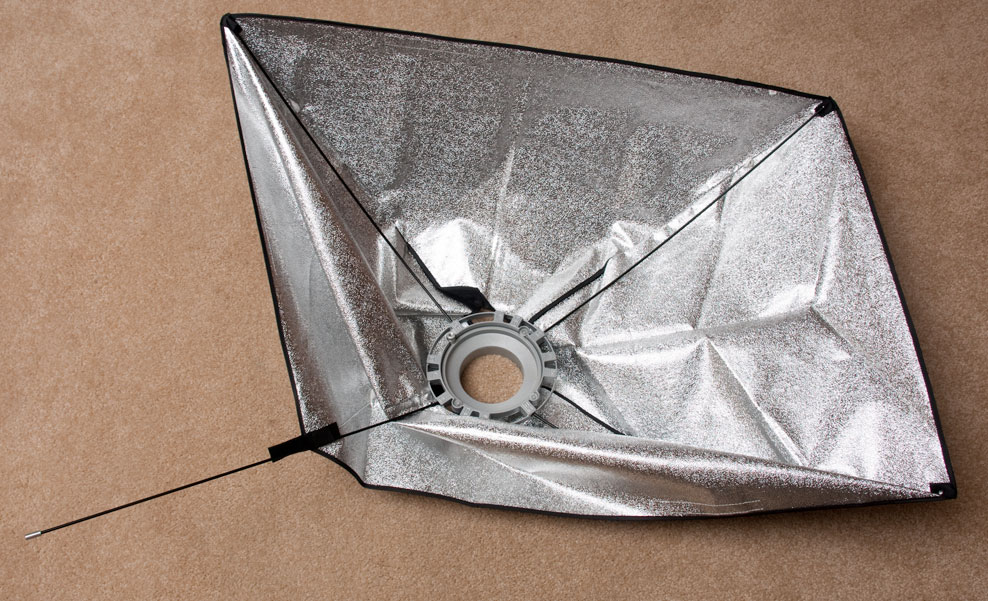
Upon arrival, I removed the softboxes from their (included) nylon storage bags. Each softbox bag contained 4 metal rods to give the box shape (ie, tent poles), an aluminum, Bowens style speed-ring, the reflector / main body material of the softbox, a white interior baffle, and the white, exterior front cover. The body material is a stiff, plasticized cloth, silver on one side and black on the other. If there is anything that concerns me about the quality of these softboxes, it is this material. Although its consistency insures that the material is opaque, it gives an almost brittle impression, as though it may crack after being folded too many times. A more supple material would improve the apparent quality. The other pieces seemed to be well made of decent materials.
My first attempt at assembling the softbox was hindered slightly by the lack of instructions, but after a few minutes, I had fitted one end of each metal rod into small pockets on the inner corners of the softbox and the other into the speed-ring, creating the main shape of the box. At this point, the box itself measures 24 inches (61cm) x 35.5 inches (90cm) x 14 inches (35.5cm). Velcro flaps at the rear of the box allow access to the speed ring so that it can be locked into place or allowed to rotate freely, and of course, for ease of attachment to a strobe.
With the body assembled, the interior baffle is next. Each corner of the baffle is attached to an elastic loop and a metal clip (flat, bent wire, as was used to clip winter mittens together prior to the 1990s) which attach to corresponding elastic loops on the interior of the reflector. This system works just fine, but because the metal clips attach directly to the interior elastic loops, they are likely to wear through during attachment as the metal edge rubs against the elastic. I would recommend attaching small, metal rings to the interior elastic loops to prolong their life and ease speedy connections. Once this is done, the fitted front cover can be quickly attached in the same fashion that a fitted sheet is attached to a mattress, with the addition of velcro strips to each side to create a tighter seal.
Fully assembled, the softbox handles as expected: the box maintains its shape and has a good sturdy feel. Because the reflector material was shipped folded, it does have several creases throughout its walls, and due to the cloth’s rigidity, they do not seem likely to disappear. This doesn’t have any effect on the function, but some might object to the aesthetics.
In Operation
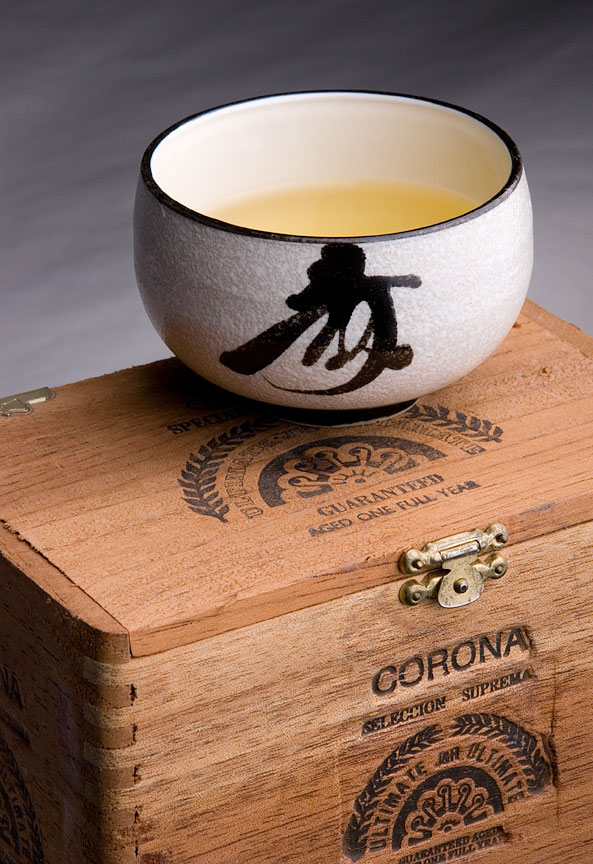
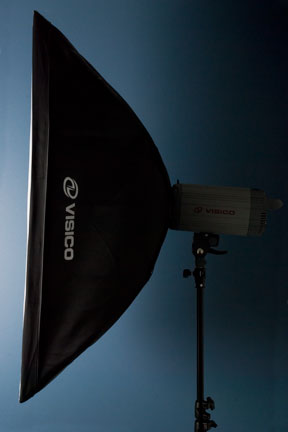
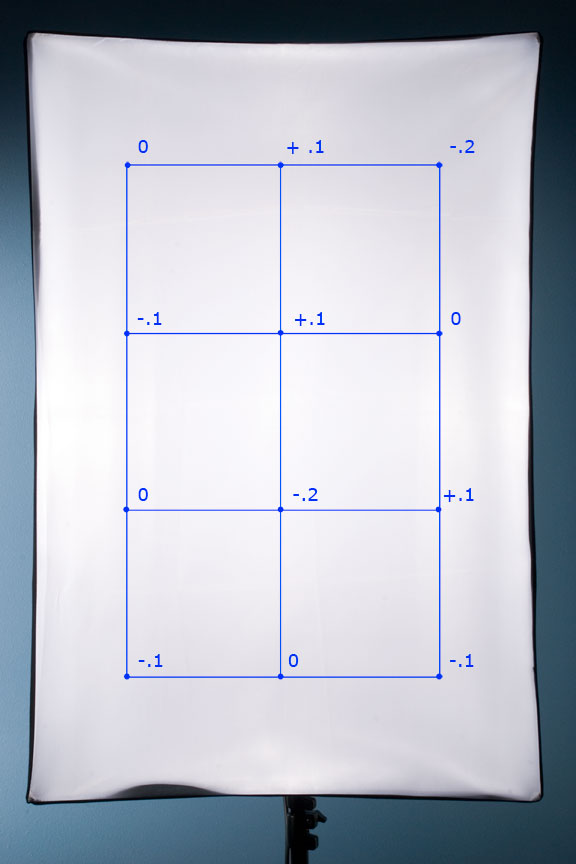
A properly working softbox really only has to fulfill one task: diffuse light evenly. In my initial tests with this softbox, it seemed to perform admirably (see example), and yet, I wanted to try to quantify the results in a more systematic manner, so I pulled out my trusty Gossen Luna-Star flash meter. I designated 12 points across the front of the diffuser (as illustrated in the photo) and measured the light intensity at each of them at approximately 6 inches from the cloth. The results were within a range of +1/10th stops to – 2/10ths, very minor variations, which may be accounted for by slight changes in the distance to the cloth, especially since they appeared somewhat random. I re-tested at approximately a foot from the diffuser, and found that the points closest to the center were consistently about 2/10ths of a stop brighter. For my purposes, these are good numbers, certainly not problematic… but how they compare to a $650 octobox, I can’t say. Undoubtedly, a softbox that is twice as deep would provide even smoother results.
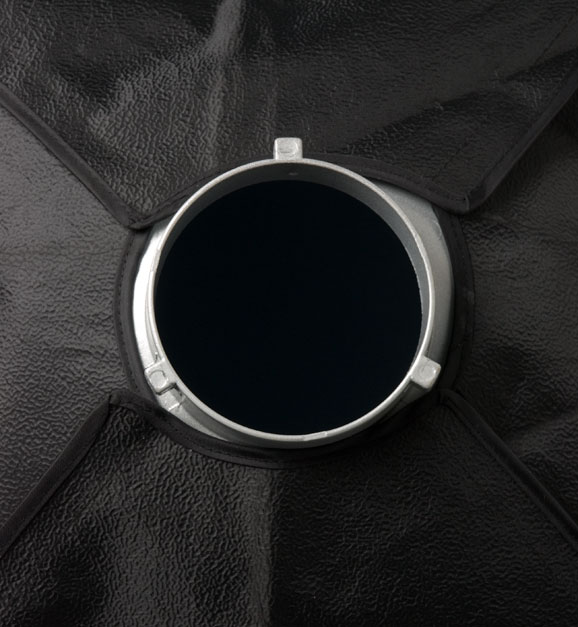
Incidentally, the speed ring connector for this softbox is actually two concentric rings, one that attaches to the strobe and one that attaches to the box, which allow the softbox to rotate independently of the strobe. A a thumb screw which can lock the two rings together can be reached without too much trouble by opening one of the velcro flaps on the rear of the softbox while it is mounted. Needless to say, this operation is considerably more difficult if the box is on a fully extended light stand. In any case, the rotation of the rings is not exactly smooth (like a ball bearing setup), but it certainly works. A bit of grease seems advisable.
The Verdict
These softboxes are a good buy, especially if you can leave them assembled between shoots. Because of the reflector material used, I don’t expect them to last foverver, but I can buy 6 of these for the price of a Chimera box of the same size (although Photoflex seems to make a reasonable alternative). That said, after 3 months of testing, I have not had any problems with the materials, even though I pack them away after each use. Because of the time required to assemble these boxes, I find myself using umbrellas more frequently… but I imagine that this would be an issue with any softbox.
Setup Instructions
These are not official instructions, just the way I do it… so follow them at your own risk. Let me know if any of you have a simpler method. All photos can be clicked for larger versions.
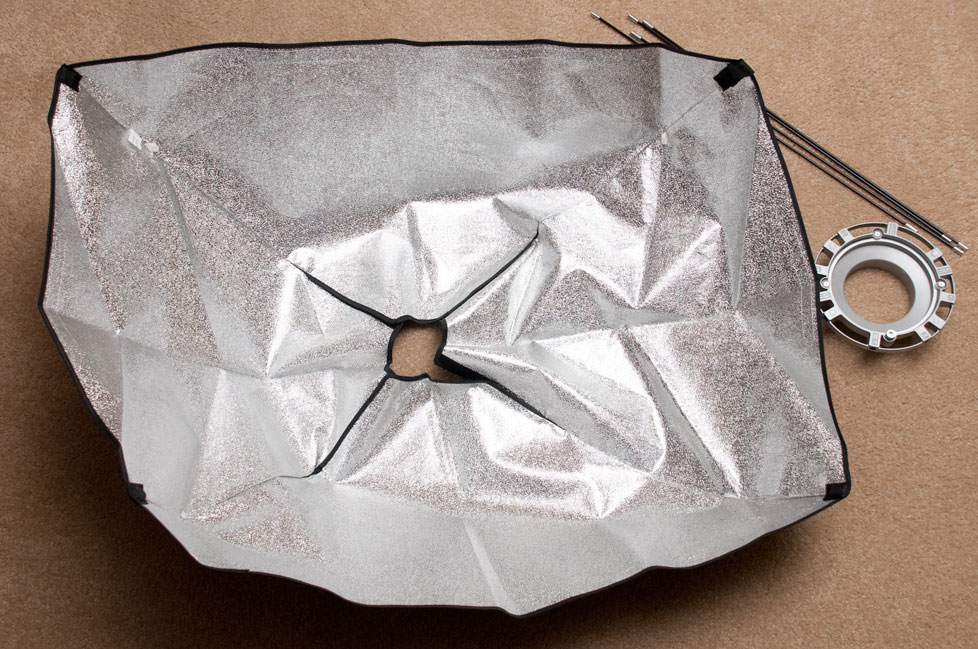
1. Begin by fully opening the reflector and laying it face up on the floor (shiny side up). Locate the corner which does NOT have a pocket, but instead has a Velcro strap that can be folded over to form a pocket. This will be the last corner to be finished.
2. Insert pole tips into the two pockets of the narrow side of the softbox opposite the velcro corner.
3. On my speedring, 4 of the holes are marked with a “3”. Stick the second end of one of the poles from step 2 into one of the holes marked with a “3”. Stick the end of the other pole in the next hole over that is marked “3”. If they’re not marked on your speedring, just make sure that you skip a hole… that’s really all that matters. The poles will be taut enough to hold themselves in place in the pockets if you’re not too rough with them.
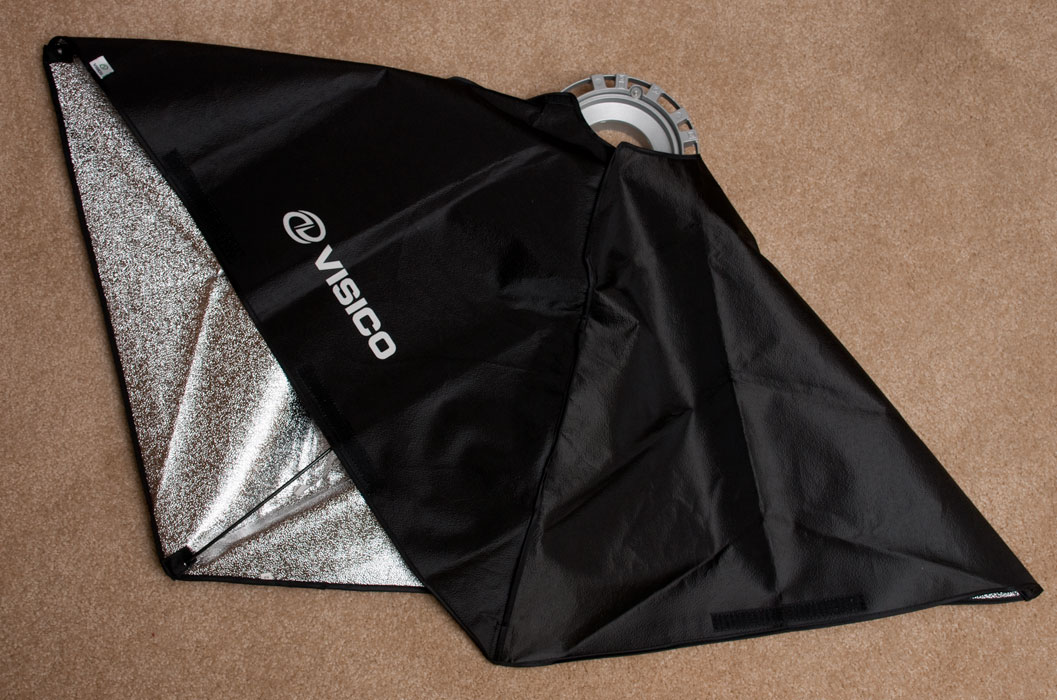
5. Finally, unstrap the velcro from the 4th corner and slide a pole through its opening, allowing the reflector material to scrunch up a bit as you insert it into the 4th hole. Once it is in the hole, hold onto the pole with one hand, and with the other, pull on the loose velcro tab (away from the center of the speed ring) until you reach the end of the pole and can wrap it over the end and connect it to the other side of the velcro.
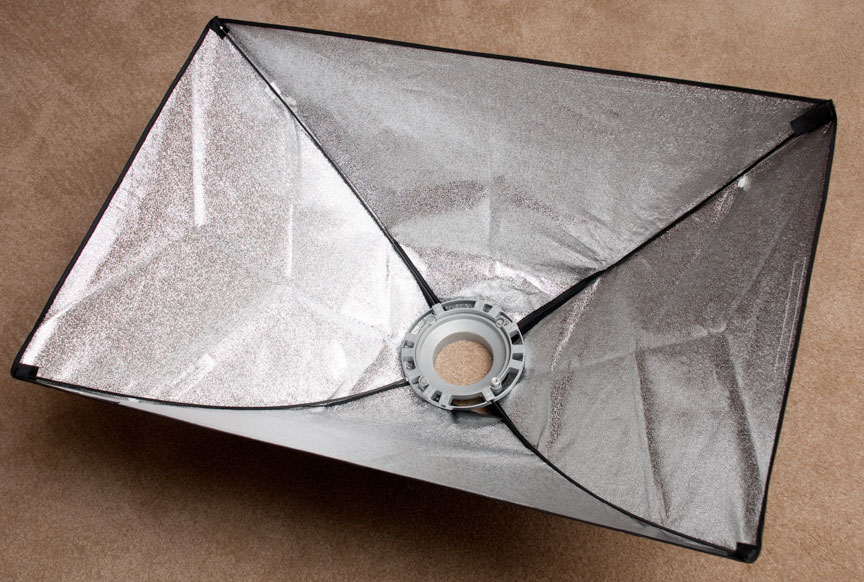
That’s the end of the hard part.
6. Locate the 4 elastic loops on the interior of the softbox reflector, about 6 inches away from each corner on the seam that runs towards the speedring. Attach the interior baffle to them using the supplied clips.
7. Stretch the exterior diffuser over the front of the softbox, fitting the corners over the reflector corners like a fitted bed sheet fits on a mattress. Its even easier than that description makes it sound.
8. Flip the softbox over so that the speedring is facing up. Open one of the velcro flaps and grasp the speedring, and attach it to your strobe!
If you have any comments or questions, please let me know.
PS – At the time of writing, my monitor, a Samsung LCD, has completely died, and I’ve gone back to a non-calibrated Gateway, which was replaced because its brightness/contrast controls stopped working. So, please forgive the fact that my photos may look off color, improperly exposed, or otherwise weird.

